
Dosa is one of the most popular foods from South India. It is South India's equivalent to north and central India's roti and paratha, as in its a staple. It is quite similar to a crepe, just a bit more crispy. There are so many varieties and variations of dosa, the most common being made with ground fermented rice and Urad dal, also known as split black lentils. This dosa recipe is not traditional because I use green moong beans and rice to create the batter.

Moong beans are a great source of protein and dietary fibre. The moong beans also give this dosa a more earthy flavour.
I honestly didn't think I would ever manage to make the dosa batter from scratch at home. I have worked in hospitality for two decades and I believed that without the specialist grinder and griddle it just would not be possible. Instead, I used instant dosa mix to make dosas at home.
However, I felt limited and unable to experiment as much as I wished to. During the pandemic, I saw several people on social media making the batter at home in a blender and I decided to give it a go.
The first attempt was such a success and so easy, that now my dosa are homemade and not shop bought. So here I share with you my dosa recipe.
These dosa are a delicious accompaniment to my ishtew vegetable stew.
Lets cook!
Ingredients
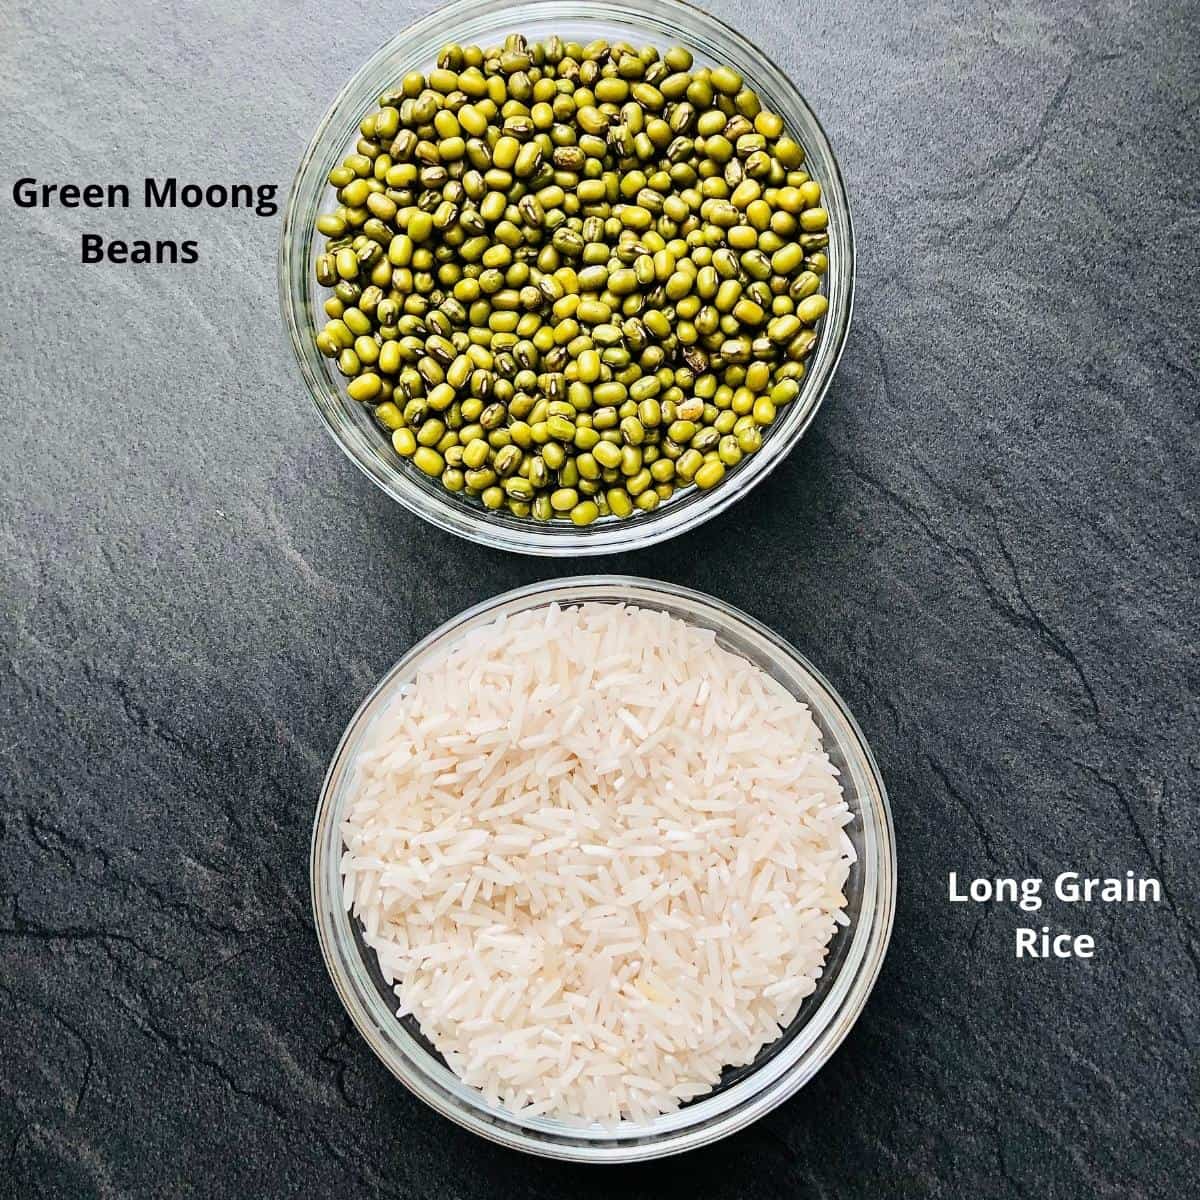
- Green Moong beans
- Rice
- Oil
Instructions
This is a two ingredient dosa recipe and although there are quite a few instruction steps, do not be put off. Give it a go. Be sure to look at the video as well when reading the instructions.
So that the lentils and rice are nice and soft and blend easily, soak them overnight in water.
Note that with dosa you would not cook the rice and lentils before blending. The aim is to blend the raw lentils and rice softened by soaking to create the batter for the dosa.
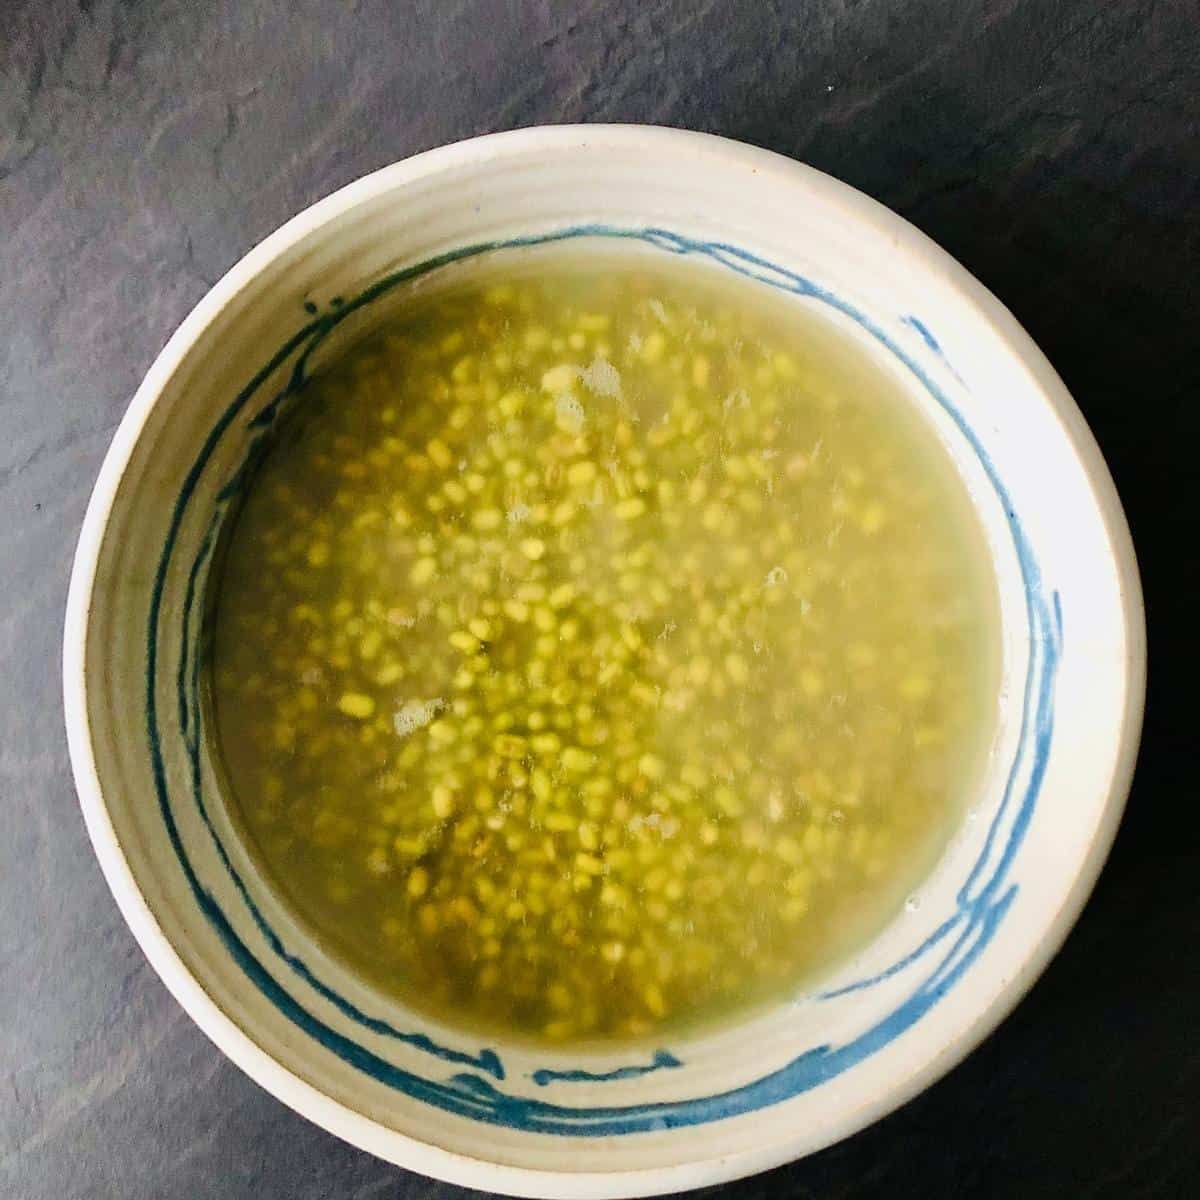
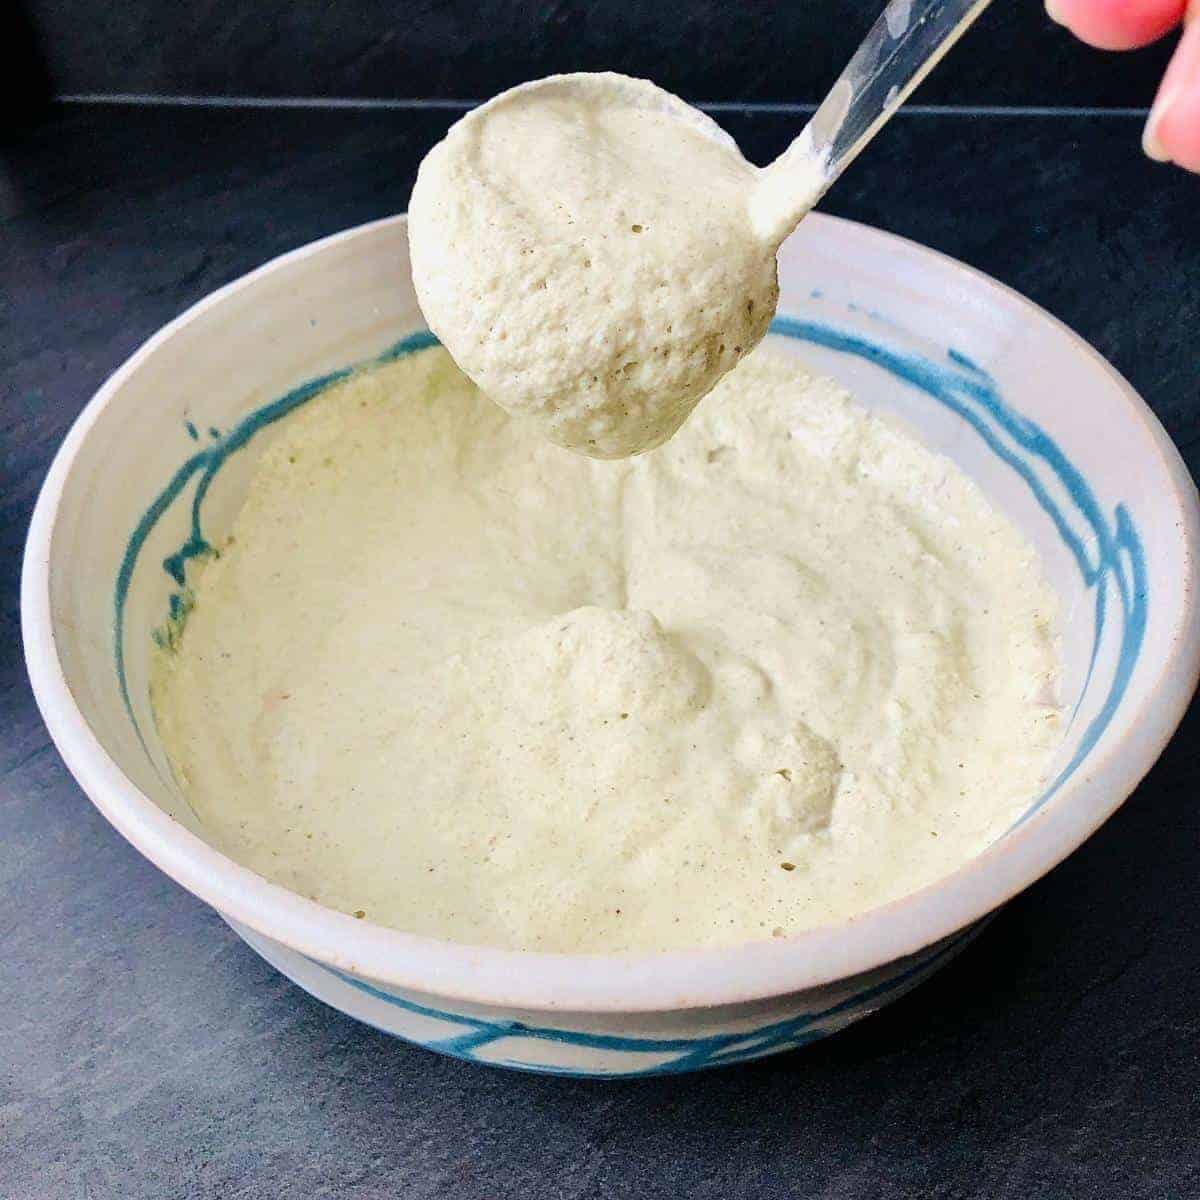
Drain the water from the soaked lentils and rice and place them in a blender cup. To aid the blending to a paste, add a little water, perhaps 100ml and whiz.
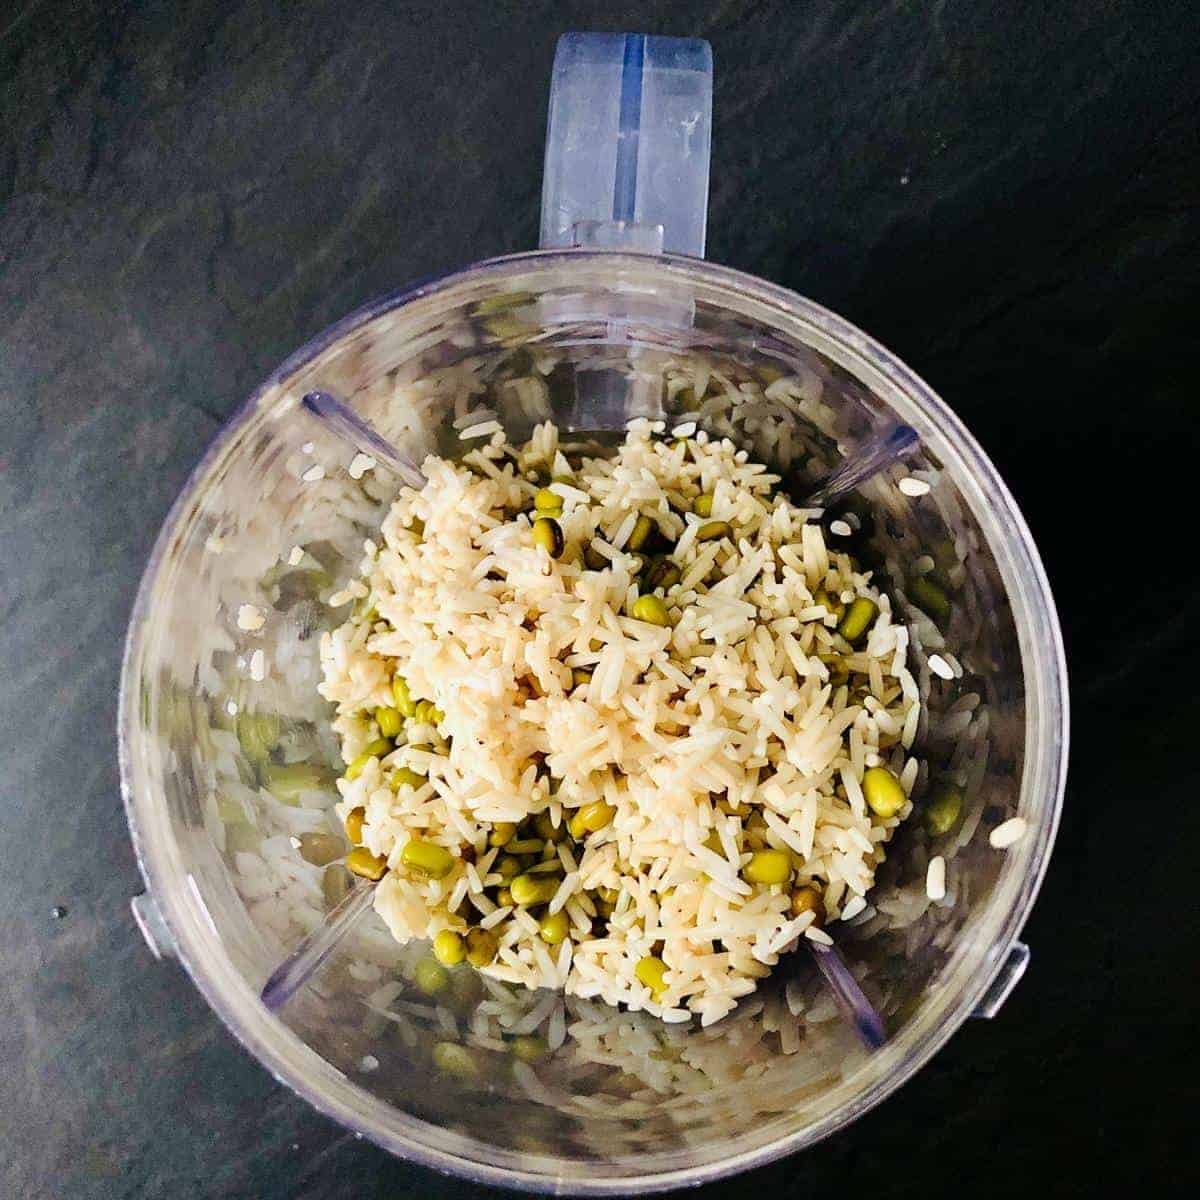
The aim is to blend to a smooth paste. If may be little grainy, but don't worry about this.
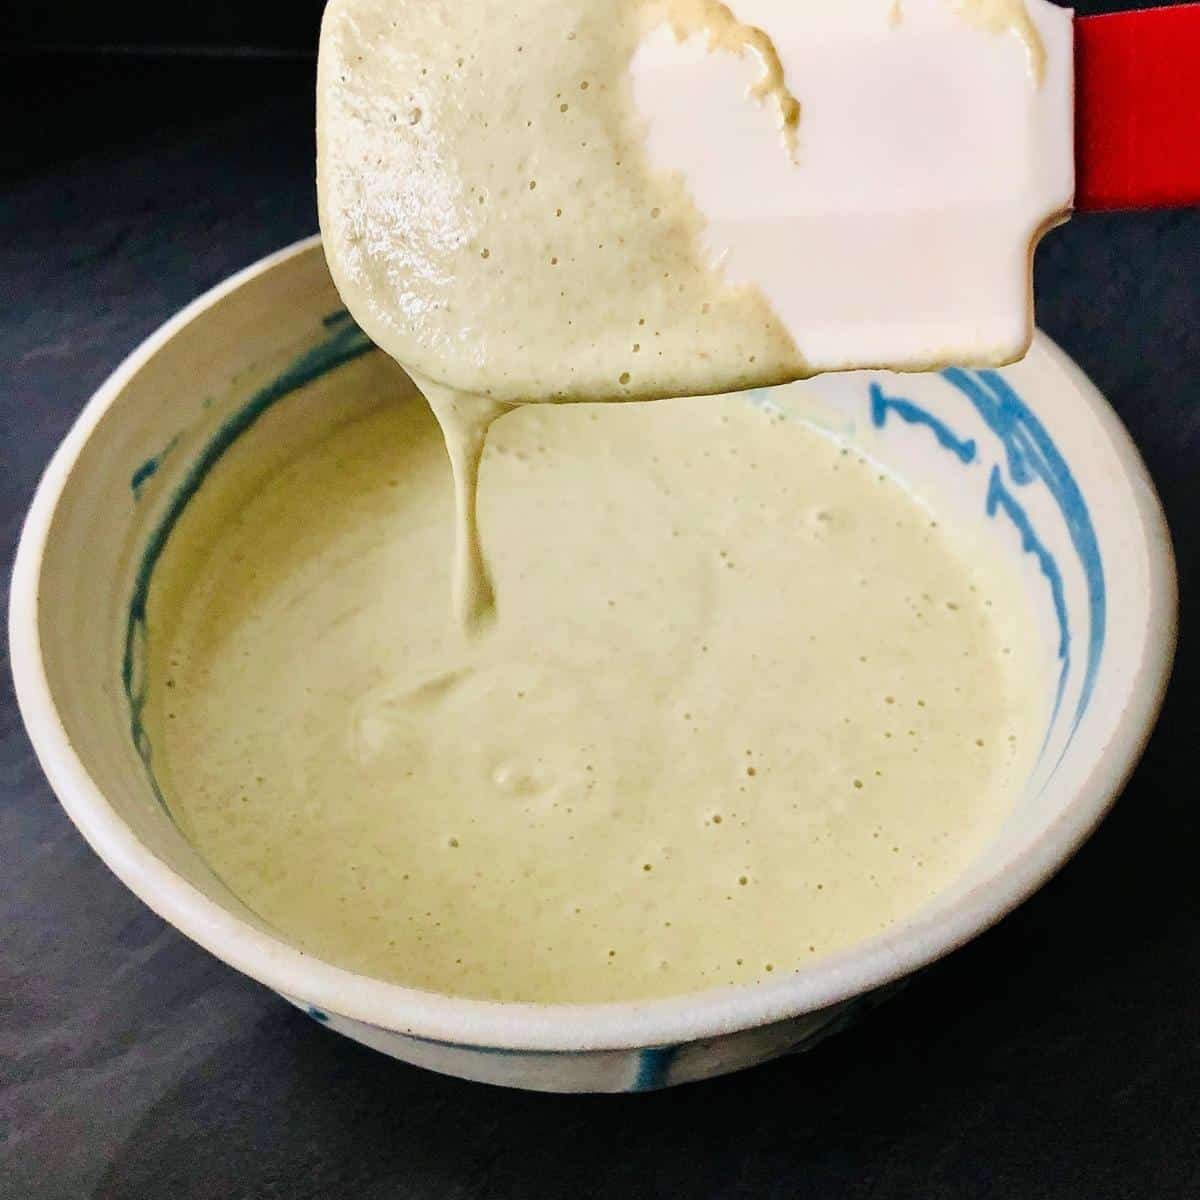
Now, a little patience is required. Cover the bowl containing the batter with a muslin cloth and leave it out at room temperature for twenty-four hours or so to allow the batter to ferment (in hot climates the fermentation will be a lot faster.)
The batter will thicken, double in volume, form bubbles and smell slightly sour. These are the signs it has fermented nicely.
Once fermented, season the batter with salt (about one teaspoon) and thin it down with water. The consistency you are aiming for at this stage is similar to that of a pancake - coating consistency. Coating consistency means that it pours off a spoon but also leaves a coating on the spoon.
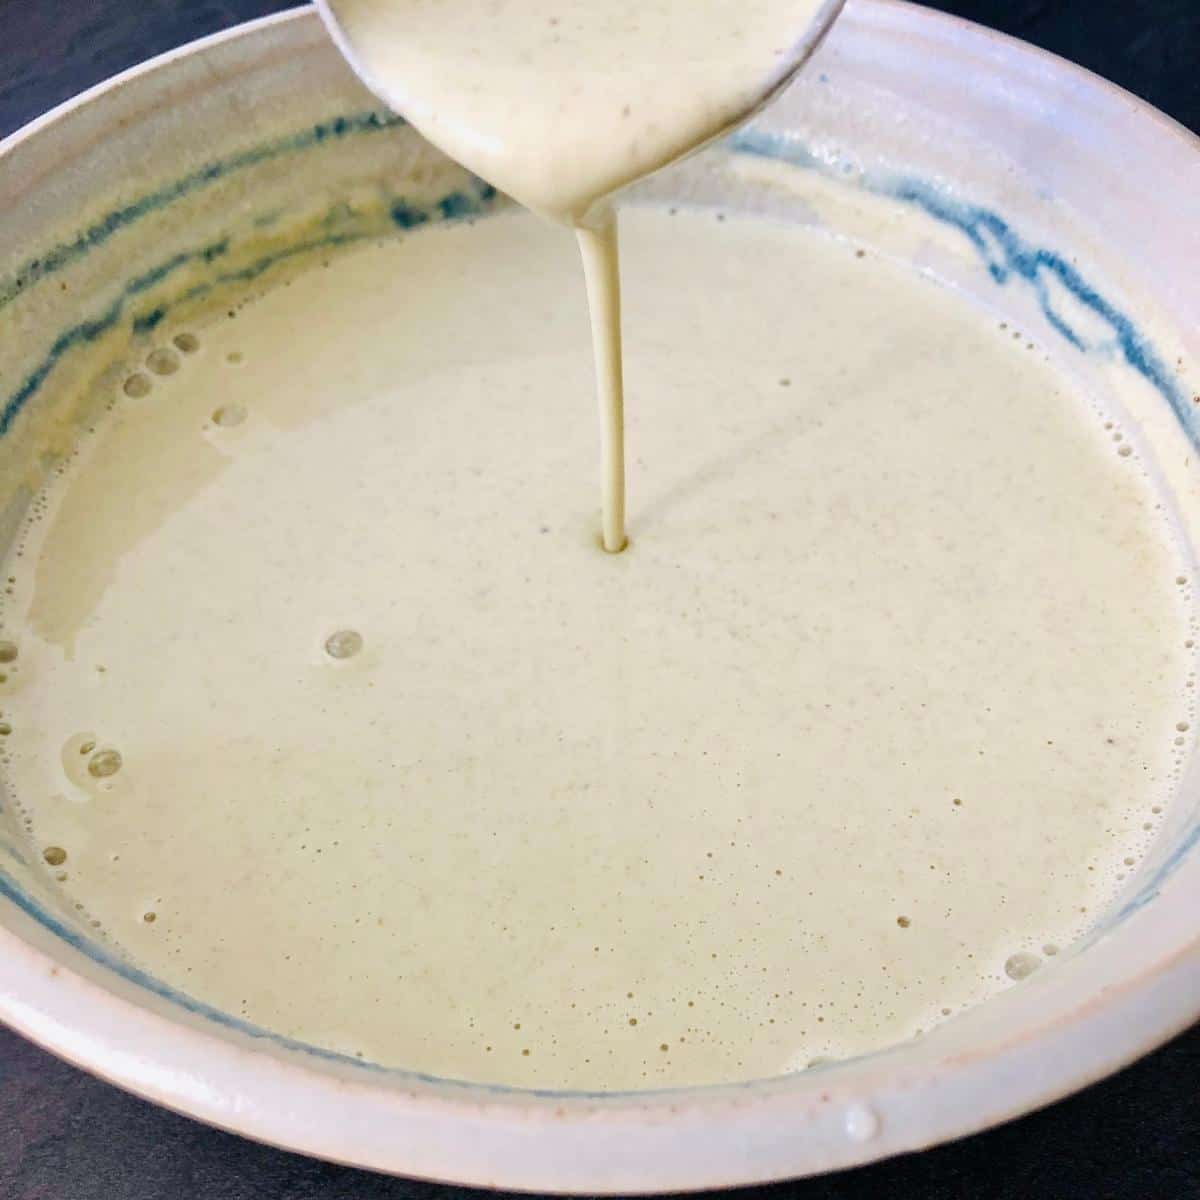
That is the batter preparation complete. Now you are ready to cook the dosa.
Heat a non-stick or cast iron frying pan over a medium heat. Brush on some oil. Don't use a lot of oil. Use just enough to provide a coating to prevent sticking to the pan. When the oil has heated, drop a few droplets of water into the pan. If it sizzles, then the you are ready to cook the dosa.
Using a ladle, scoop up two-thirds of a ladle full of batter and drop into the centre of the pan (for a 10 inch pan I would use about 100 ml of batter approximately.) Quickly, using the back of the ladle, swirl the batter to the edge of the pan. Do not press it down. Apply only a very, very light pressure. It is more a case of gently encouraging the batter to form a perfect circle to the edges of the pan. See the video below for the technique.
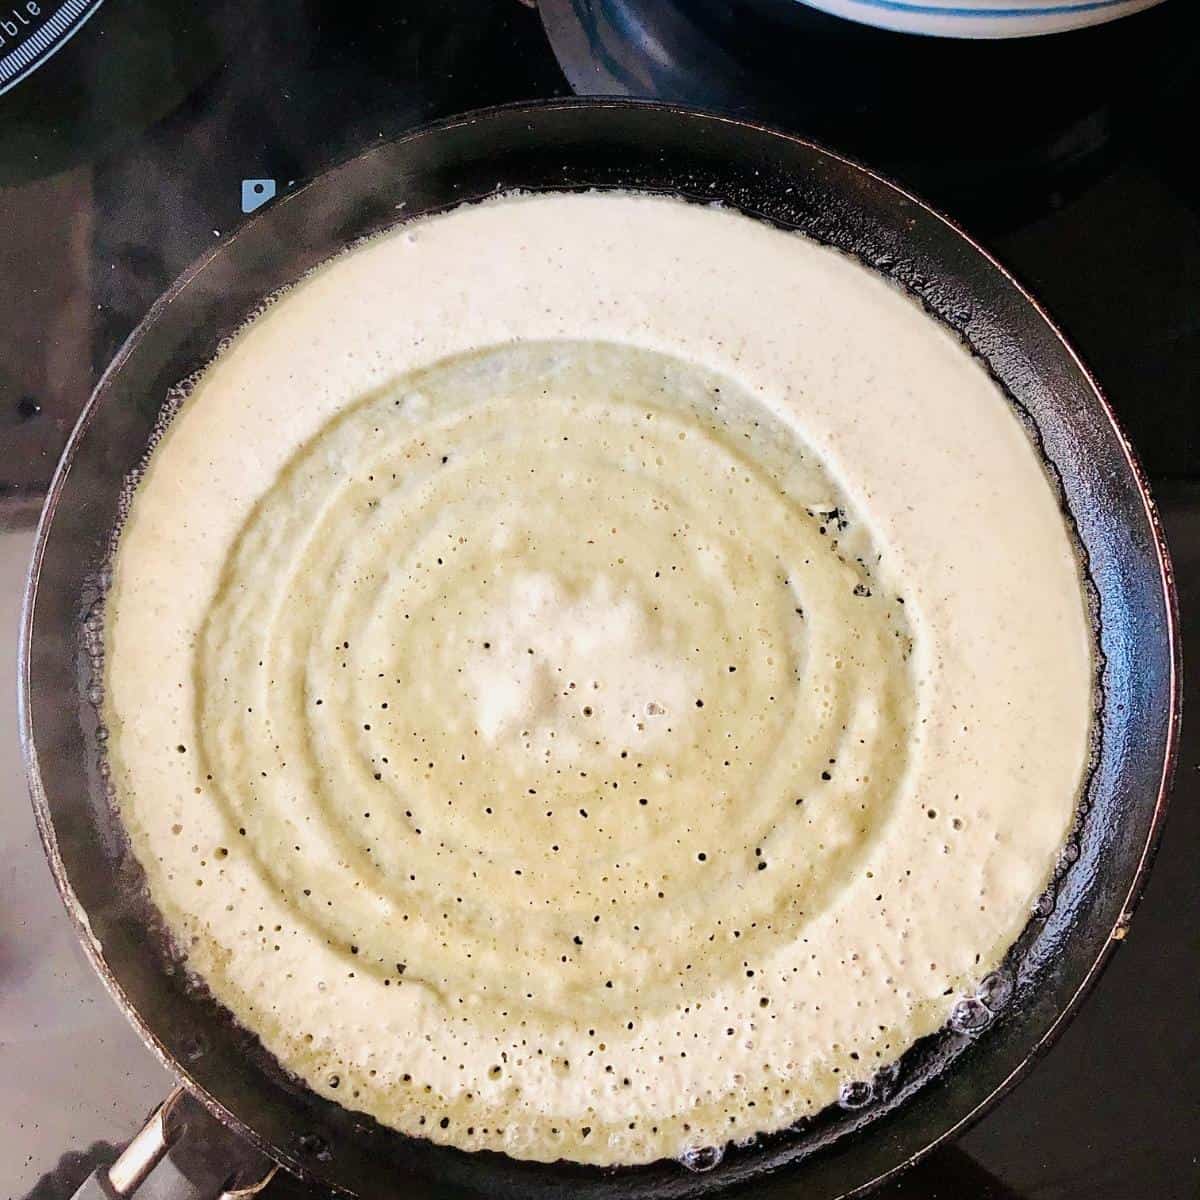
After about a minute or so you will see that the dosa is almost cooked. Drizzle some oil on the surface. Using a flat spatula gently lift up the edge of the dosa. If it is not lifting, lower the heat and cook for a little longer.
Once you see that is crispy and golden underneath, fold the Dosa in half.
Repeat with the remaining batter. The yield from this recipe will be about eight dosas.

How To Video
Here is a video guide to making moong bean dosa.
Substitutions
You can add spices or even green chillies to this dosa recipe. Just add them when blending.
I have not tested this dosa recipe with other lentils. So I would recommend to stick to moong beans unless you have an adventurous spirit!
Equipment
A good quality blender will ensure that the rice and lentils blend into a smooth paste without adding too much water.
A non stick pan is vital if you are trying out this dosa recipe for the first time. If you have a cast iron pan and you are used to making eggs and pancakes in them, then you will be fine using it for dosa as well. A seasoned cast iron pan with its layer of carbonised oil creates a natural non-stick layer
Storage
The batter works best when it is fresh. However you can store it the refrigerator for up to three days. Just bring it to room temperature before making the dosas.
Store the dosa themselves in a refrigerator for up to three days. However they are best eaten freshly cooked.
Top tip
The fermentation process will differ from place to place. In hotter places, the fermentation may not take so long. In winter months here in the UK, the temperature is such that the batter can take at least a day to ferment. In the summer months in the UK, twelve hours or so may be enough. I have indicated in the instruction the things to look out for as a sign that the batter has fermented. Just keep the batter in a warm place, covered but not sealed, and let it do its work.
Your first dosa may just get stuck and lift off, even if the pan is non stick. Don't worry about it, just clean the pan with a dry cloth, heat again, brush with oil and try again.
The spreading of the dosa batter takes practice, so don't give up! Practice makes perfect!
📖 Recipe

Moong Bean Dosa Recipe
Equipment
- 9 Inch non-stick pan or cast iron pan
- Flat spatula
- Ladle
Ingredients
- 100 gms Green moong beans
- 100 gms White rice
- 20 ml Olive or coconut oil
Instructions
- Wash and soak the lentils and rice overnight.
- The next day, rinse and drain all the water. Transfer the lentils and rice into a blender and add a little water and blend into a fine paste. It may be a little grainy. That is not a problem.
- Transfer this paste to a non metallic bowl and cover. Leave it to ferment for 24 hours at least (This may change if you live in a warm country) The next morning you will see bubbles in the batter and the batter would have doubled in volume and have a sourish smell.
- Season the batter with salt and add a bit of water to thin it down. The ideal batter consistency is similar to a crepe / pancake batter. It should be flowing, yet not watery. Something like coating consistency (the batter flows off a spoon but leaves a coating of batter on the spoon)
- Now to cook the dosa. Heat the non stick pan or cast iron pan over a medium heat.
- In small bowl, add the oil and gather it together with the spatula, ladle and batter mix next to the stove. You want everything ready!
- Once the pan is hot, season the pan by brushing the oil onto the surface. Not too much oil though, just enough so that the dosa doesn't stick to the pan.
- Sprinkle some water on the pan, if it sizzles then you are ready to make the dosa.
- Pour about two thirds of a ladle of batter (for a classic 10 inch pan about 100ml of batter) down onto the center of the pan and very quickly swirl the batter using the bottom of the ladle in a circular motion outwards into a circle to the edge of the frying pan. Do not press down, its a gentle motion to encourage the batter into a circle.
- Increase the heat a little and drizzle about half a teaspoon of oil onto the dosa.
- After a minute or so, you will see the surface of the dosa is almost cooked.
- Now gently place the flat spatula under the sides of the dosa to pull it up. If it is not lifting, reduce the heat and allow it to cook for another minute or so.
- Once the bottom of the dosa is crispy and golden brown and lifts off easily, fold the dosa in half. If using any filling add the filling before folding over the dosa.
- Between cooking each dosa, clean down the pan with a kitchen towel. Repeat the process above.
Food safety
In a professional kitchen, food hygiene and safety is a top priority and from the very beginning of training I practiced good habits and routines. Of course, it is also very, very important to practice good food hygiene and safety at home. Here are some fundamental practices to adopt in the kitchen.
- Wash your hands regularly while preparing, handling and cooking food
- Wipe down counter tops and high contact points regularly
- If you cook meat and fish, do not use the same utensils on cooked food, that previously touched raw meat. Use separate chopping boards for meat and fish. Wash your chopping boards immediately after use.
- Thoroughly cook food to a minimum temperature of 165 °F (74 °C)
- Don't leave food sitting out at room temperature for extended periods (more than 2 hours)
- Store food correctly
For more details of food hygiene and safety in the home, visit the UK Government's Food Standards Agency webpage.


Leave a Reply