
These crisp orange tuiles are a vegan version of the classic French biscuit, made without eggs or dairy. Flavoured with fresh orange zest and juice, they bake into thin, delicate wafers that can be shaped while warm and used to garnish desserts, sorbets and ice cream. This easy-to-make recipe will have you creating a professional-looking, restaurant-worthy garnish.

What is a Tuile?
A tuile is a thin, crisp French biscuit or wafer, traditionally made with flour, butter, egg, and sugar, often with almonds. They are commonly served with coffee or used as a garnish for sorbets, ice creams and mousses. Tuiles are usually curved in shape, which can make them look daunting to make, but don't be put off - the technique is simpler than it appears
Why You'll Love this Vegan Orange Tuile
- Completely egg-free and dairy-free - a plant-based version of the classic French biscuit that everyone can enjoy.
- Light, crisp and delicately scented with orange - perfect citrus notes to lift desserts and ice cream.
- Easy to shape while warm - create elegant shapes without specialist equipment - all you need is a rolling pin.
- Ideal make-ahead garnish - they keep their crunch and elevate simple desserts to something sophisticated and special.
Jump to:
Key Ingredients & Notes
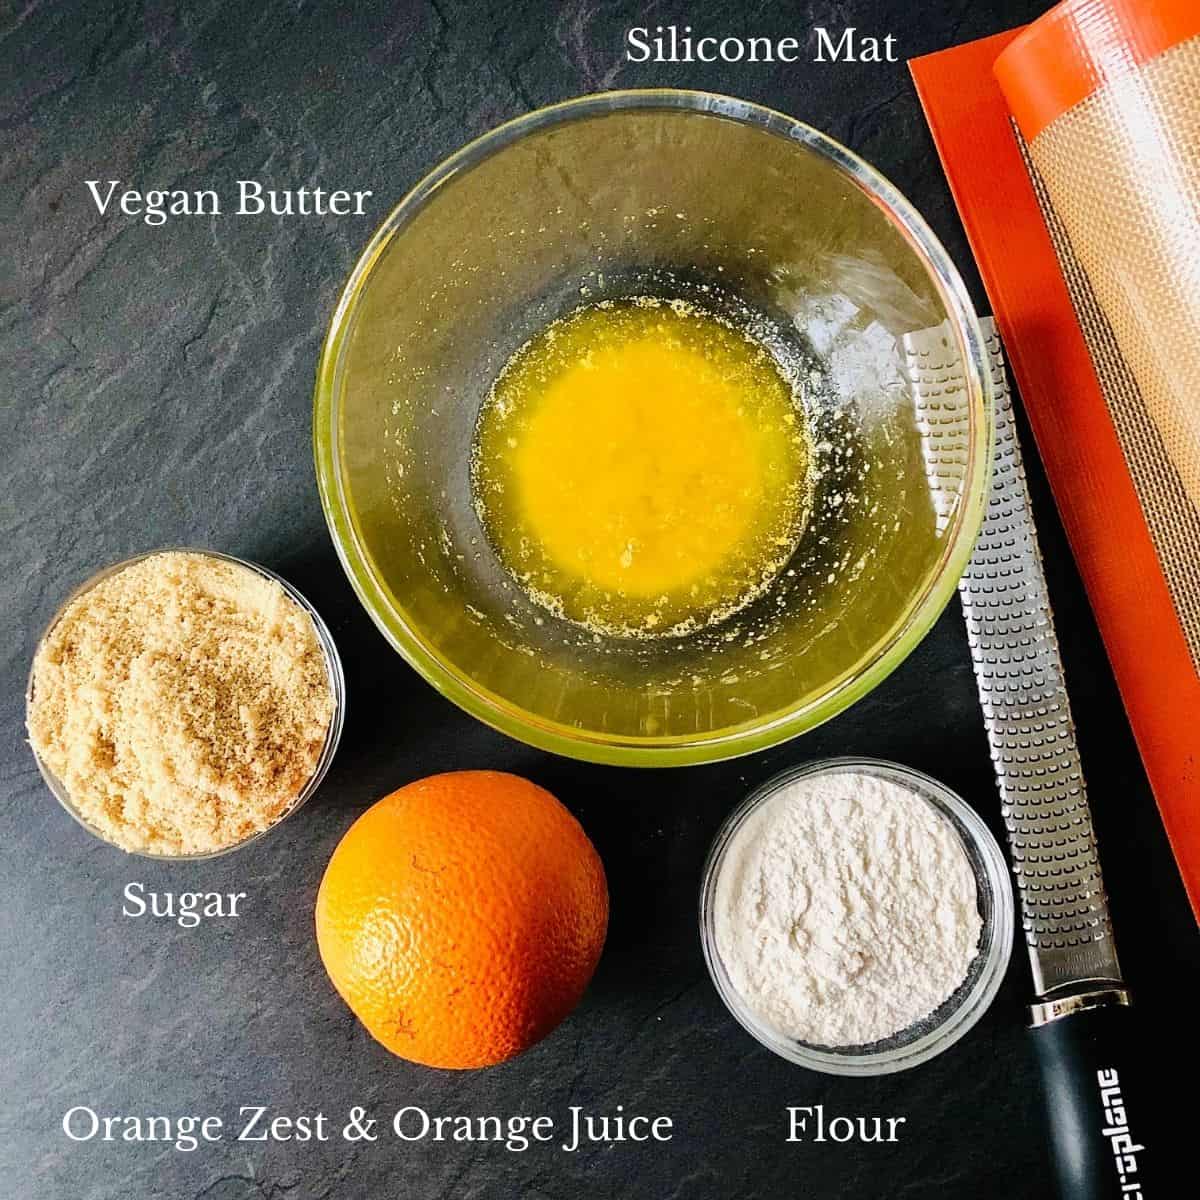
- Soft vegan butter
- Zest of half an orange
- Orange juice
- Sugar
- Flour
Instructions
First, prepare your ingredients and equipment.
Grate the zest of half an orange. I use a microplane grater.
Squeeze out the juice from the orange and set it aside.
Measure out your plain flour and sugar. You can use soft brown sugar or caster sugar. Sift the flour before use to remove any lumps.
Prepare a baking tray by lining it with parchment paper or a silicone mat. If you use parchment paper, you may need to replace it between batches. I much prefer to use a silicone mat.
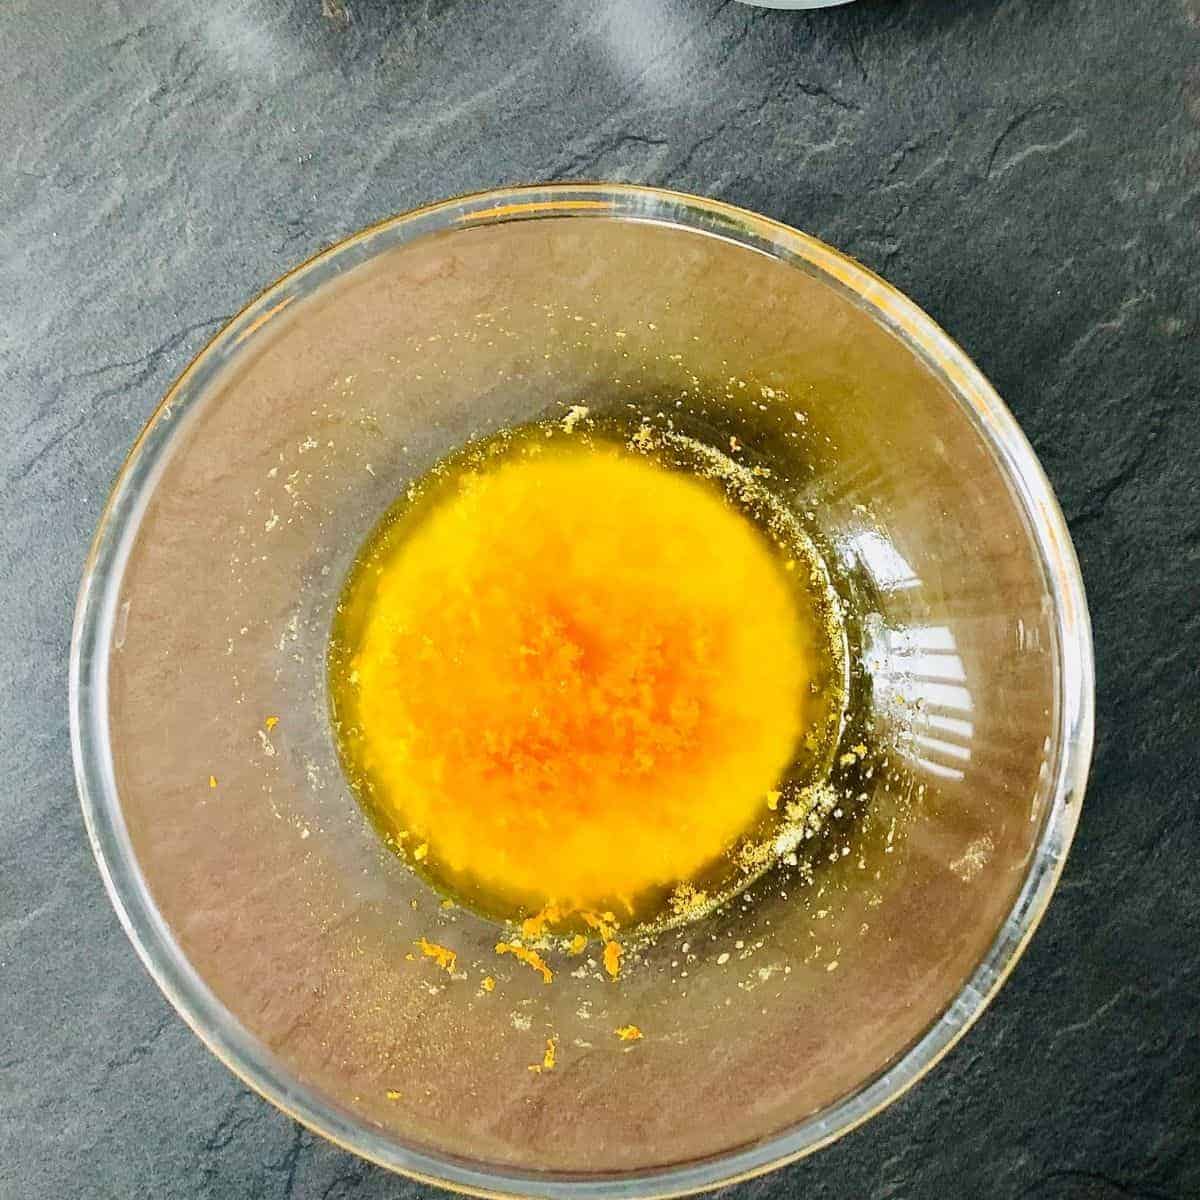
In a bowl, add soft or melted vegan butter. If you use melted vegan butter, the tuile batter will take longer to set in the refrigerator. The block butter should be soft enough to mix easily with the other ingredients. Add the grated orange zest and orange juice to the bowl.

Whisk in the sugar until it is thoroughly incorporated.
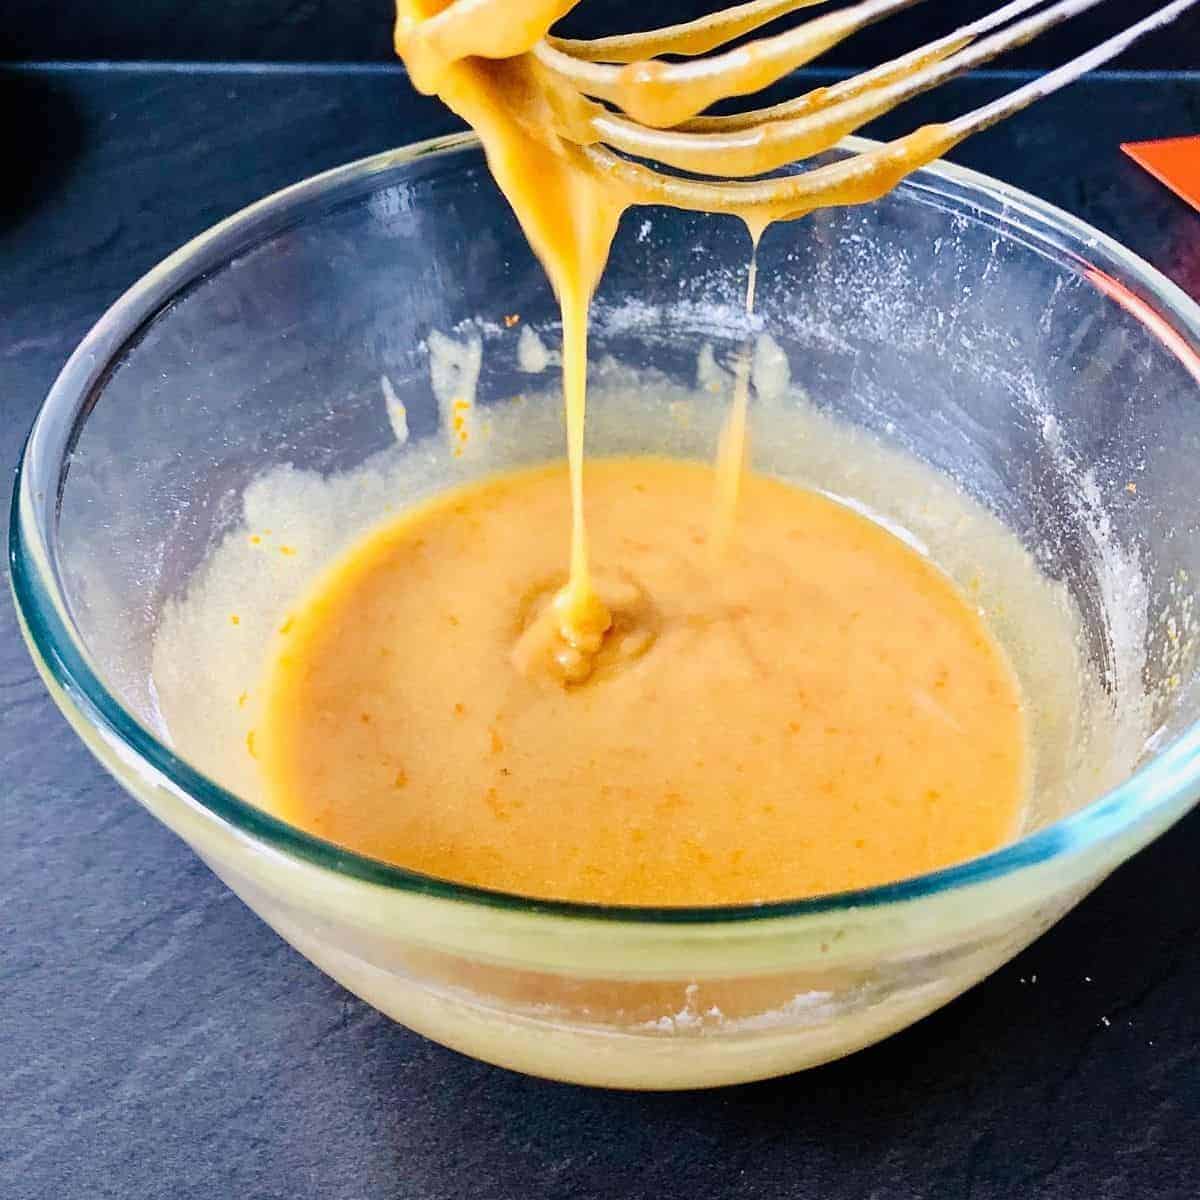
Then whisk in the flour until you have a batter consistency.

Now, place the batter in your refrigerator for approximately thirty minutes, until it firms up.
Remove the batter from the refrigerator and drop half a teaspoon onto the silicone mat or parchment paper. The batter will be thick.
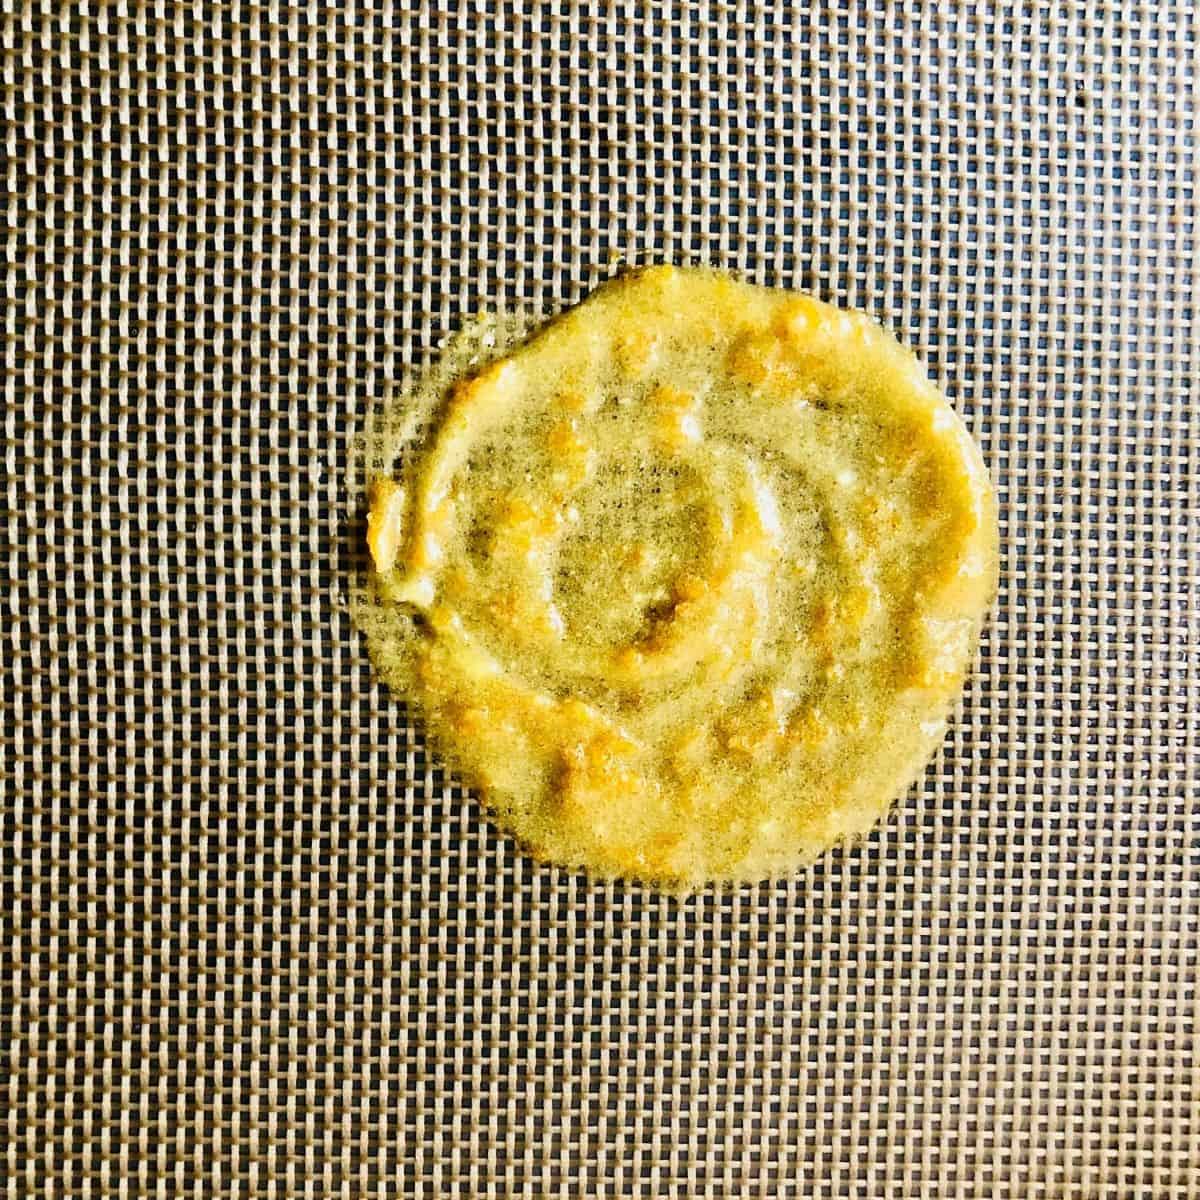
Using the back of a spoon, create a thin disc of batter approximately four centimetres in diameter. Repeat this process to make six discs about three inches apart.
Pre-heat the oven (fan assisted) to 160ºC
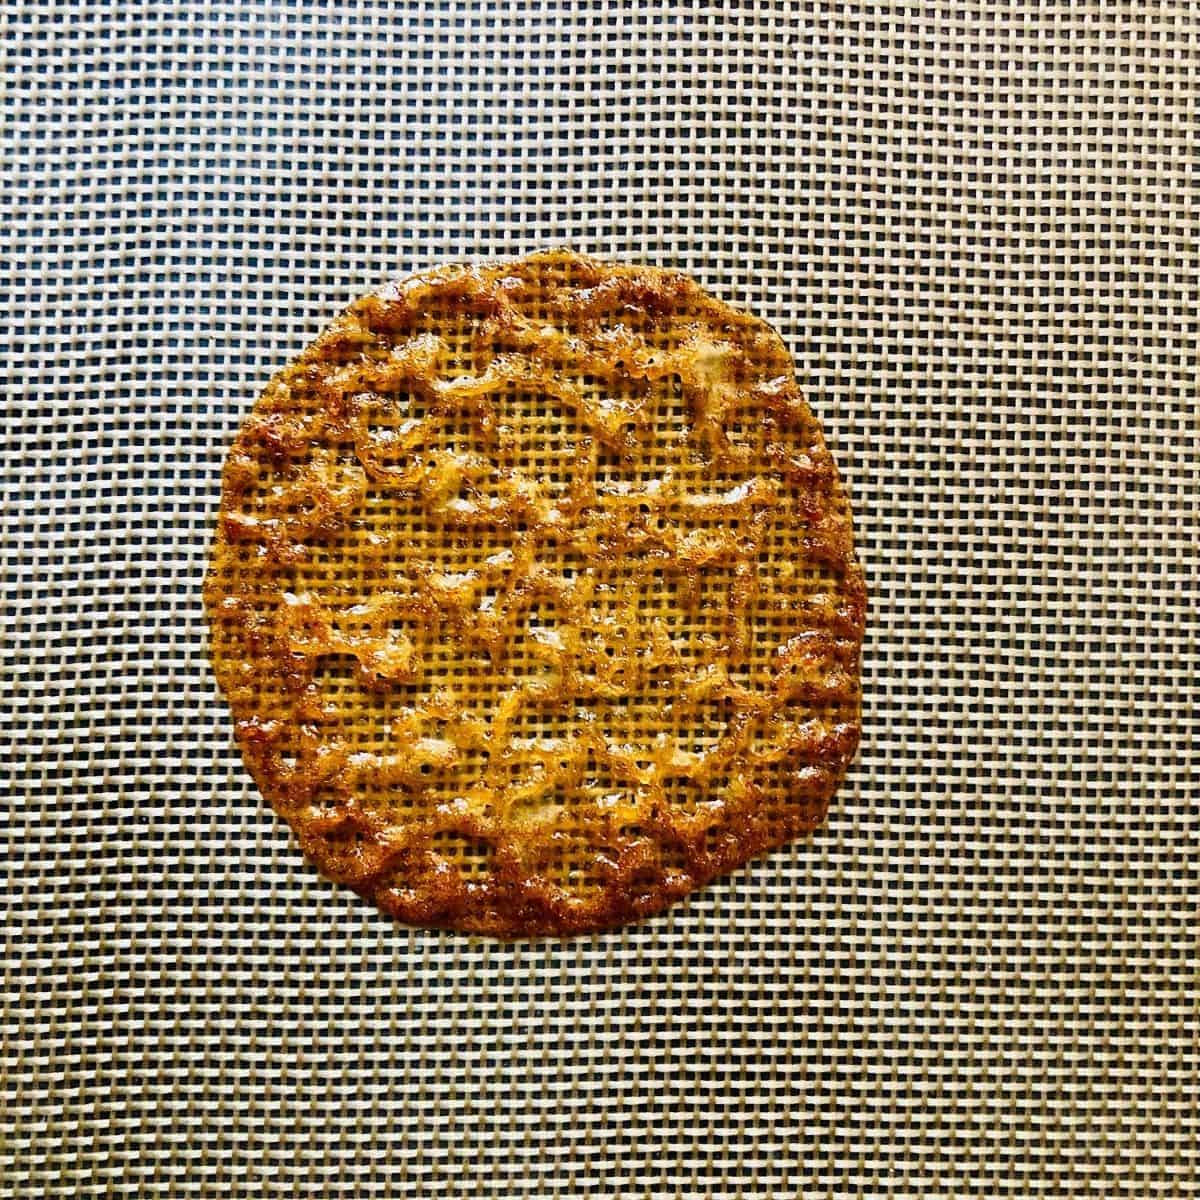
Bake the batter discs in the oven for about six minutes, or until golden brown.
If you would like to create curved tuile, find a suitable object to mould them. A rolling pin is ideal for this.
Now, time is of the essence if you want to create a curved tuile!
Make sure your rolling pin is ready. While the tuile is still hot and mouldable, use a spatula to carefully lift the disc and lay it onto the rolling pin, so it curves around it. Then repeat for the other discs.

For cooking a second batch, replace the parchment paper, or cool and wipe down the silicone mat. Repeat the process above.
Before storing, let the tuiles cool until they are stiff.
Substitutions & Variations
If you are not vegan, you can use dairy butter instead.
Why not try adding sesame seeds for more texture, flavour and colour? Add the sesame seeds after you have mixed in the flour.
Flaked almonds also work well with this orange tuile recipe. Add the almonds at the very end, after the flour.
Equipment
Digital scales are essential because they provide accurate measurements. Baking, especially, requires precise weight measurements, or the final product may not turn out as expected!
I highly recommend using a silicone mat. Not only are they environmentally friendly, but they also help with easy lift-off of the tuile.
Invest in a microplane grater for your kitchen. Microplanes are great for zesting, preparing garlic and ginger, and very finely grating hard cheese, among other things.
Storage
A tuile should be nice and crisp, so ideally, use them on the day you make them; however, you can store the tuile in an airtight container for up to three days.
Do not stack the tuile or else they will stick together. Use parchment paper to separate layers of the tuile. Ideally, make and use them on the same day so they are at their crispiest.
The tuile batter will keep for a while, so you can store it in the refrigerator for a few days, allowing you to make just enough fresh tuile for your needs on the day. I do not recommend keeping the batter for longer than five days.
Chef's Tips & Troubleshooting
Using spreadable butter? Spreadable butters contain added oils and water, which can cause the tuiles to spread too much and lose their crisp texture. For best results, use block vegan butter so the batter behaves more predictably during baking.
Tuiles spreading too much? If the batter is too warm or spread too thickly, tuiles can lose their shape as they bake. Chill the batter briefly and spread it as thinly and evenly as possible with the back of a spoon.
Uneven colour or patchy browning? Spread the batter evenly and rotate the tray halfway through baking. A silicone baking mat or good-quality parchment helps ensure consistent results.
Are the tuiles setting before you can shape them? Before you put the tuile in the oven, make sure you have cleared an area where you will place the baking tray with the mat, and have a rolling pin or glass bottle, a spatula or palette knife and a container for the tuile to hand.
It may be a good idea to cook in batches of three if you are making the tuile for the first time.
Are you tuiles breaking when curved? This usually means they have cooled to much or are too thin. Pop them back in the oven for a minutes to make them malleable again.
📖 Recipe

Vegan Orange Tuile Recipe
Equipment
- Silicone mat
- Rolling Pin
- Spatula
Ingredients
- 15 g Soft vegan butter vegan block butter
- Zest of half an orange
- 15 ml Orange juice
- 37.5 g Sugar soft brown sugar or caster sugar
- 12.5 gms Plain flour
Instructions
- In a bowl, add the soft vegan butter. It needs to be easy to mix. If you use melted butter, then the batter will take longer to set in the refrigerator.
- Add the zest of half an orange and the orange juice.
- Whisk in the sugar until incorporated.
- Whisk in the flour until completely incorporated, and you have a batter consistency.
- Refrigerate the batter for thirty minutes until firm.
- Line a baking sheet with a silicone mat or parchment paper.
- Set a rolling pin or something similar to shape the tuile if you want, then curve it.
- Preheat the oven to 160ºC (fan-assisted) and set a rack in the middle of the oven.
- Remove the batter from the fridge and drop half a teaspoon of the batter onto the silicone mat/parchment paper. Aim for about six per mat, spacing them about three inches apart.
- Using the back of a spoon, smooth the batter thinly to form a disc about four centimetres in diameter.
- Bake in the oven for about six minutes or until golden brown.
- Once ready, pull out of the oven immediately. Using a spatula, gently remove a tuile from the silicone mat and lay it over the rolling pin or a thin bottle to give it a curved shape. Follow with the other tuile.
- Make more tuile with the rest of the batter. Make sure to cool and wipe down the silicone mat or replace the parchment paper before each batch.
- Allow the tuile to cool and stiffen. Once stiff, transfer to an airtight container.
- Store the tuile in a single layer in an airtight container. Try not to stack the tuile because they will stick together.
Pairing Suggestions
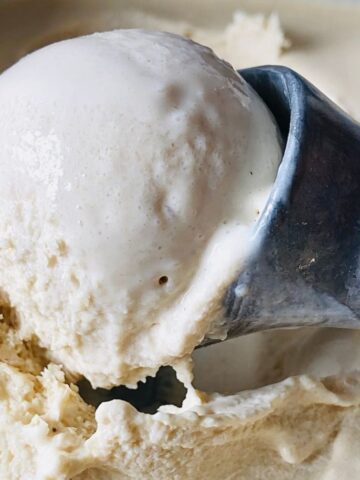
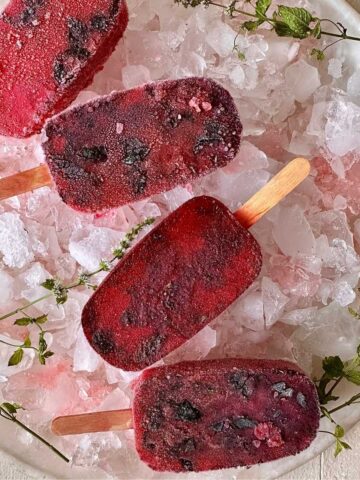
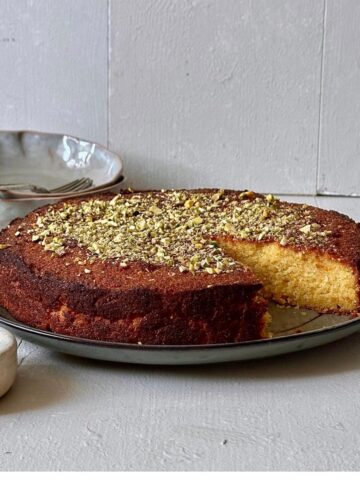
I have some desserts for you to make that will pair perfectly with these vegan orange tuiles. Give them a go!


Food safety
- Wash your hands regularly while preparing, handling and cooking food.
- Wipe down countertops and high-contact points regularly.
- If you cook meat and fish, do not use the same utensils on cooked food that previously touched raw meat. Use separate chopping boards for meat and fish. Wash your chopping boards immediately after use.
- Thoroughly cook food to a minimum temperature of 165 °F (74 °C).
- Don't leave food at room temperature for extended periods (more than 2 hours).
- Store food correctly.
Leave a Reply