

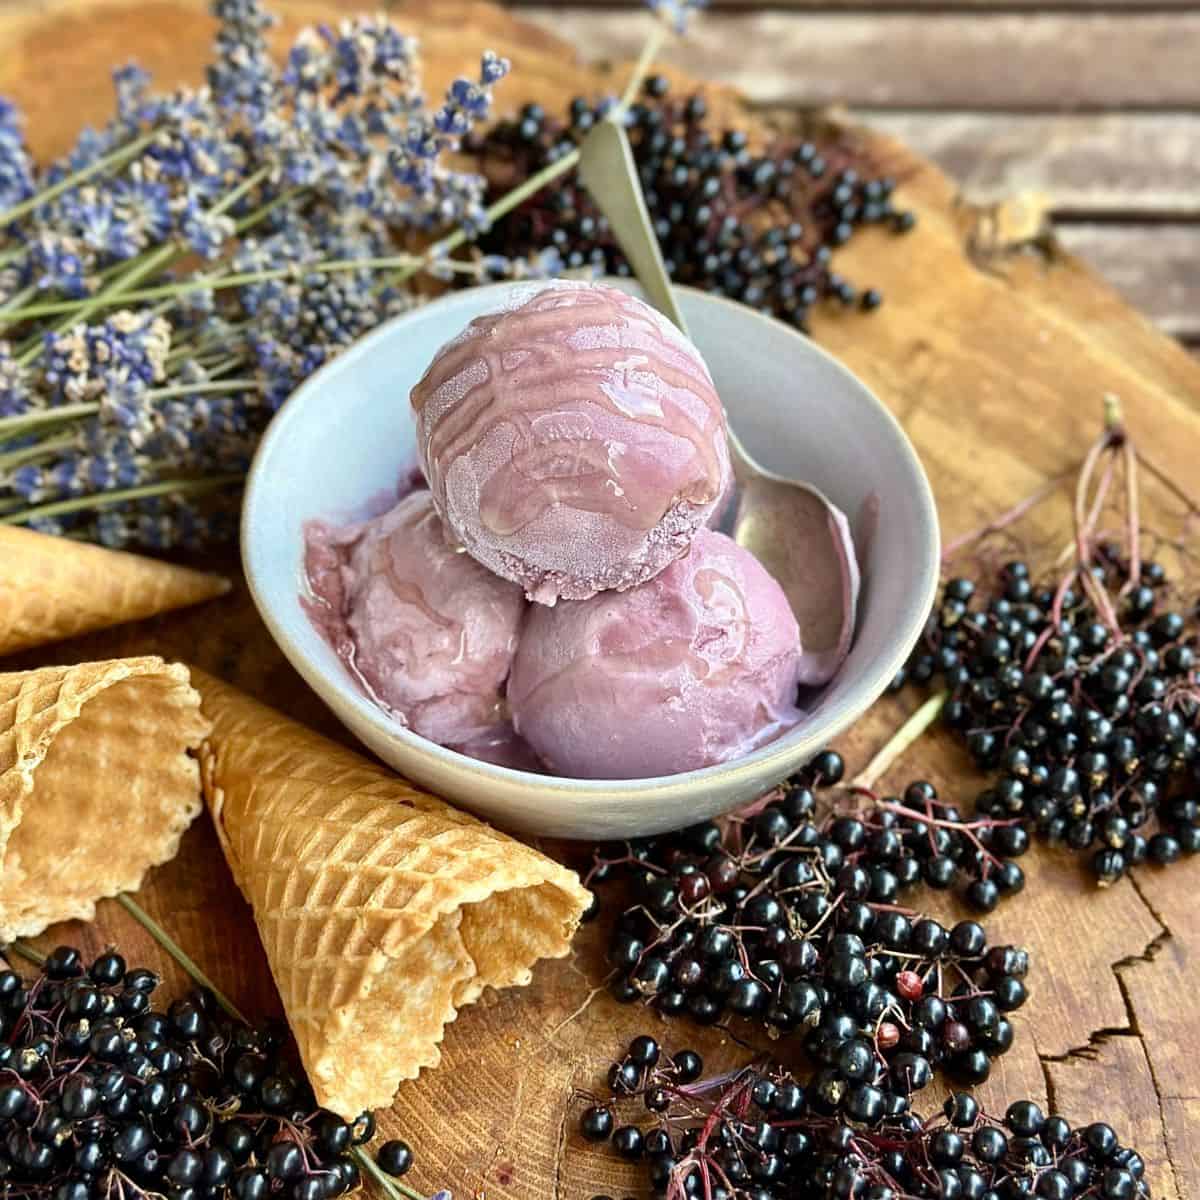
Elderberry and lavender are in season, making them a perfect match for this no-churn elderberry, lavender ice cream. Homemade ice cream is easier than you might think to make and needs no special equipment. This version has a dreamy, whimsical flavour profile - fruity, floral and gently sweetened with honey. The real benefit of making your own ice cream is that you can choose the flavours: it's an indulgent treat, but made with natural ingredients and nothing you can't pronounce!
Elderberry is high in vitamin C, an essential vitamin for health. Each year I gather berries to make an elderberry and honey syrup, and take a spoonful at the first sign of a cold coming on.
Why you'll love this elderberry and lavender ice cream
- Made with foraged ingredients - elderberry and lavender, straight from Mother Nature, and they don't cost anything apart from your time to pick them, which is very therapeutic.
- No ice cream maker required - this is a no-churn recipe. It's simple and easy, with no specialised, expensive equipment beyond a sieve and some digital scales.
- Naturally sweetened - Honey provides the sweetness in this recipe: gentle and natural. No refined sugar, letting the flavours of the elderberry and lavender shine through.
- A flavour you will not find in the shops - impress your friends with the distinctive flavour combination. Dreamy and floral.
- You control what goes in - nothing you can't pronounce, and you are free to adjust the flavours to suit your palate.
Jump to:
Key ingredients and notes
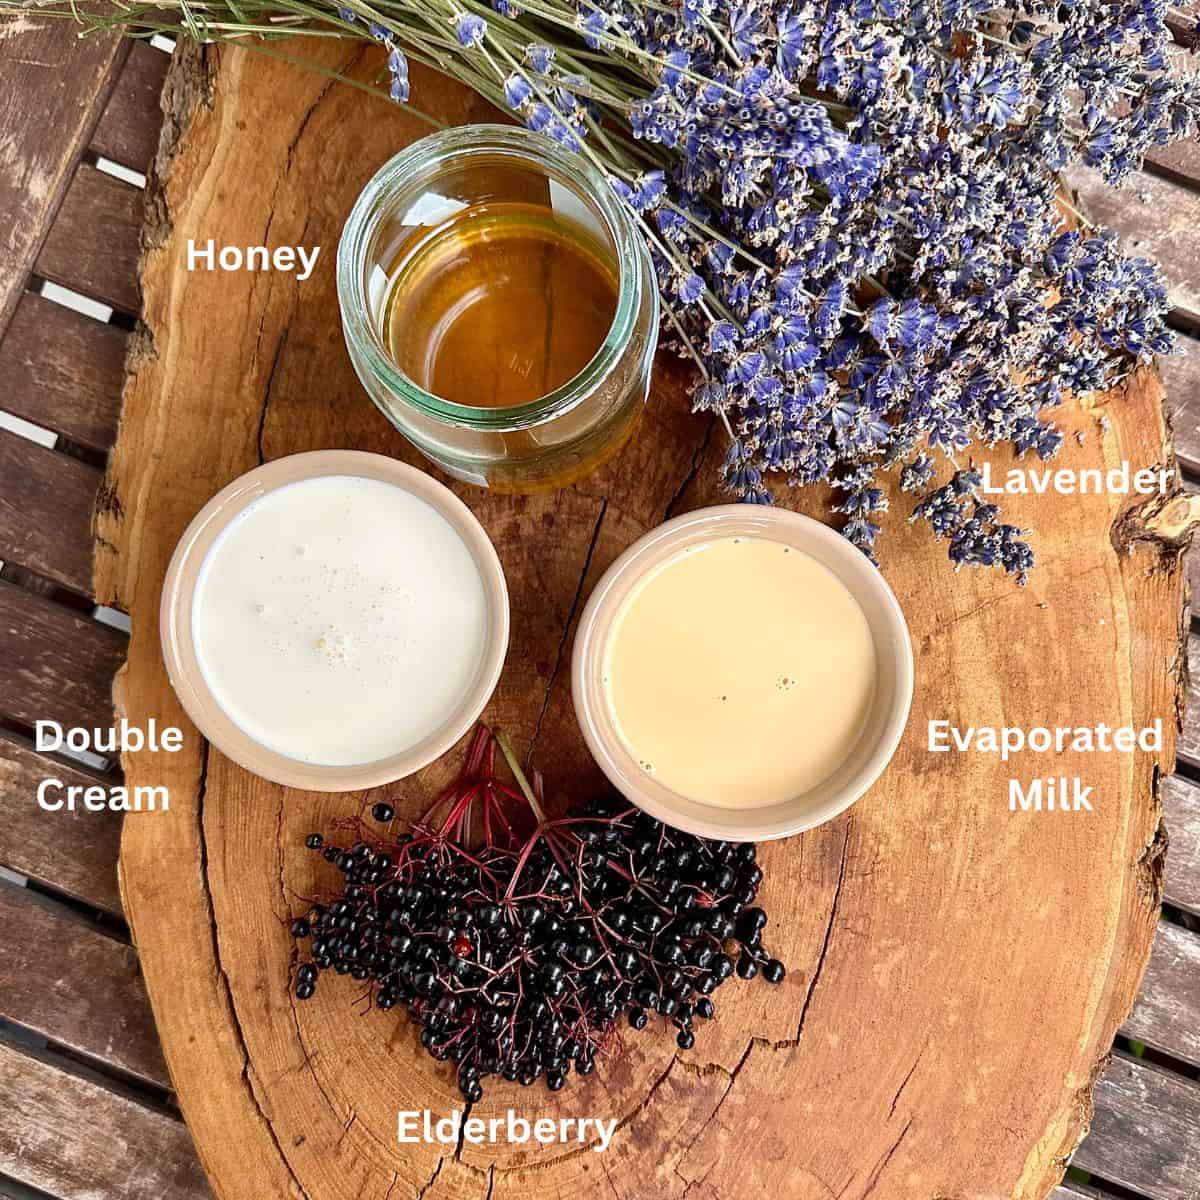
- Elderberry - use only fully ripe berries. They ripen from August to September in the UK. Don't eat them raw - they contain compounds that cause nausea, so elderberries always need to be cooked before use. The flavour profile is tart and wine-like. It is important that you are confident with your identification of elderberries. Please see my elderflower cordial recipe for more details on identifying elder.
- Lavender - be mindful of the lavender you pick, as not all lavender has the same flavour. English lavender is the best, as opposed to French or Spanish, as it is sweeter. The lavender gives this ice cream a distinct floral note. Don't be tempted to over-infuse or use too much; otherwise, the flavour will dominate.
- Honey - the elderberry is not overly sweet on their own, so the honey adds a gentle sweetness to the ice cream, as opposed to a dominating sweetness that would result from sugar.
- Evaporated milk - I use this, and not condensed milk, because condensed milk is very sweet on its own, and adding honey or any other sweetener makes the ice cream too sweet.
- Double cream - gives the ice cream its creaminess without churning.
See the recipe card for quantities.
how to make Elderberry and lavender ice cream with honey

- Thoroughly wash the elderberries.
- Using a fork, remove the elderberries from the stems.
- Remove any green or purple berries (unripe).
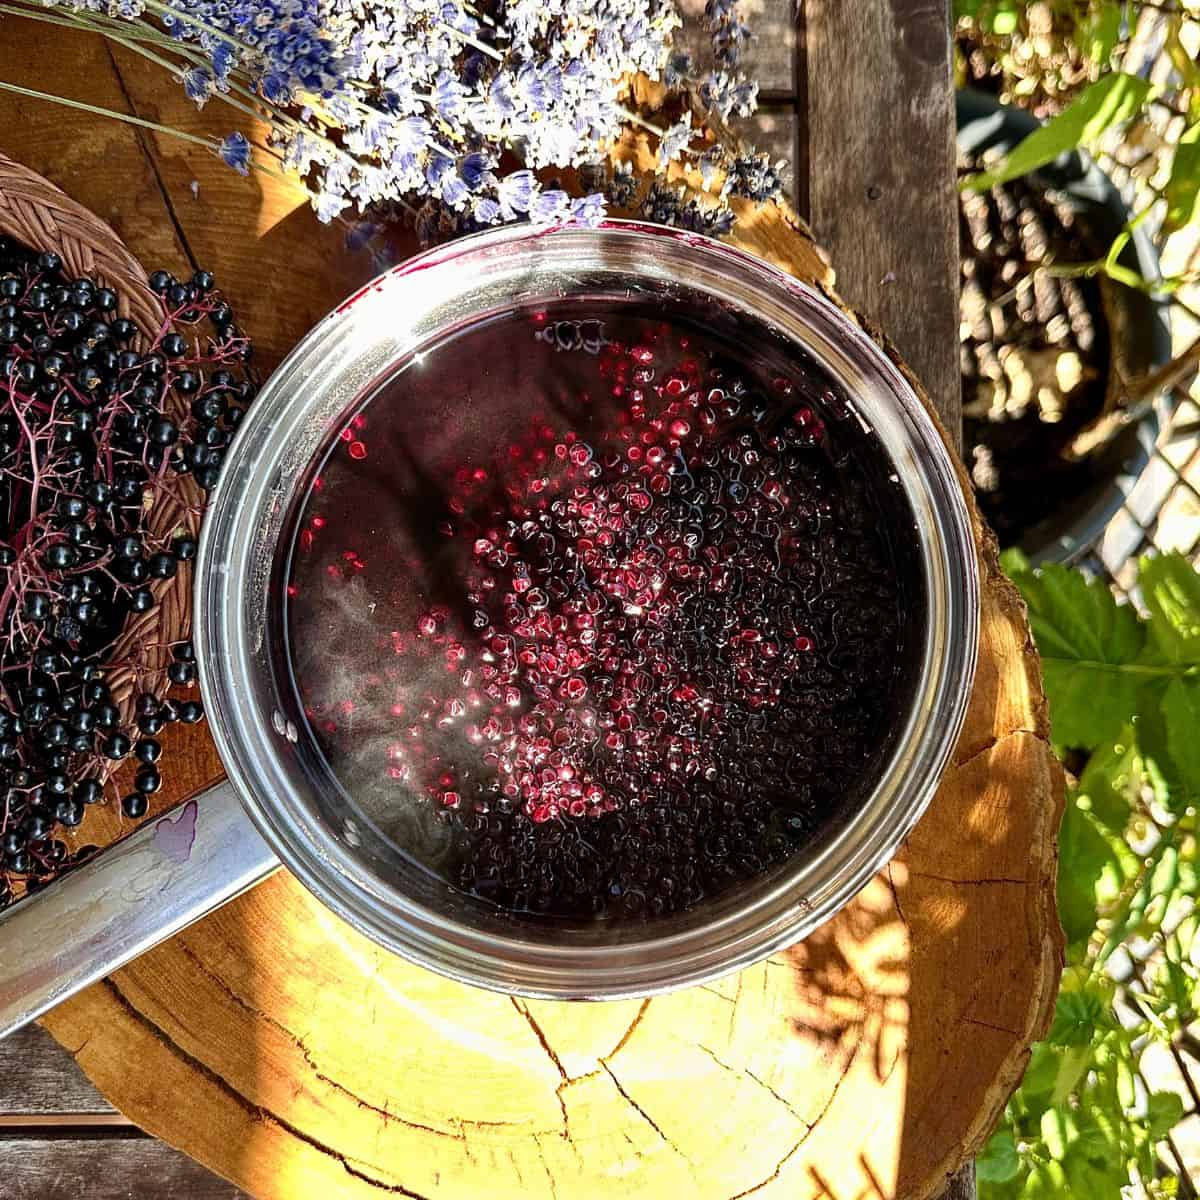
- Add the berries to a saucepan with 200ml of water. Cover and bring to a boil. Reduce to a simmer for 15 minutes, covered.
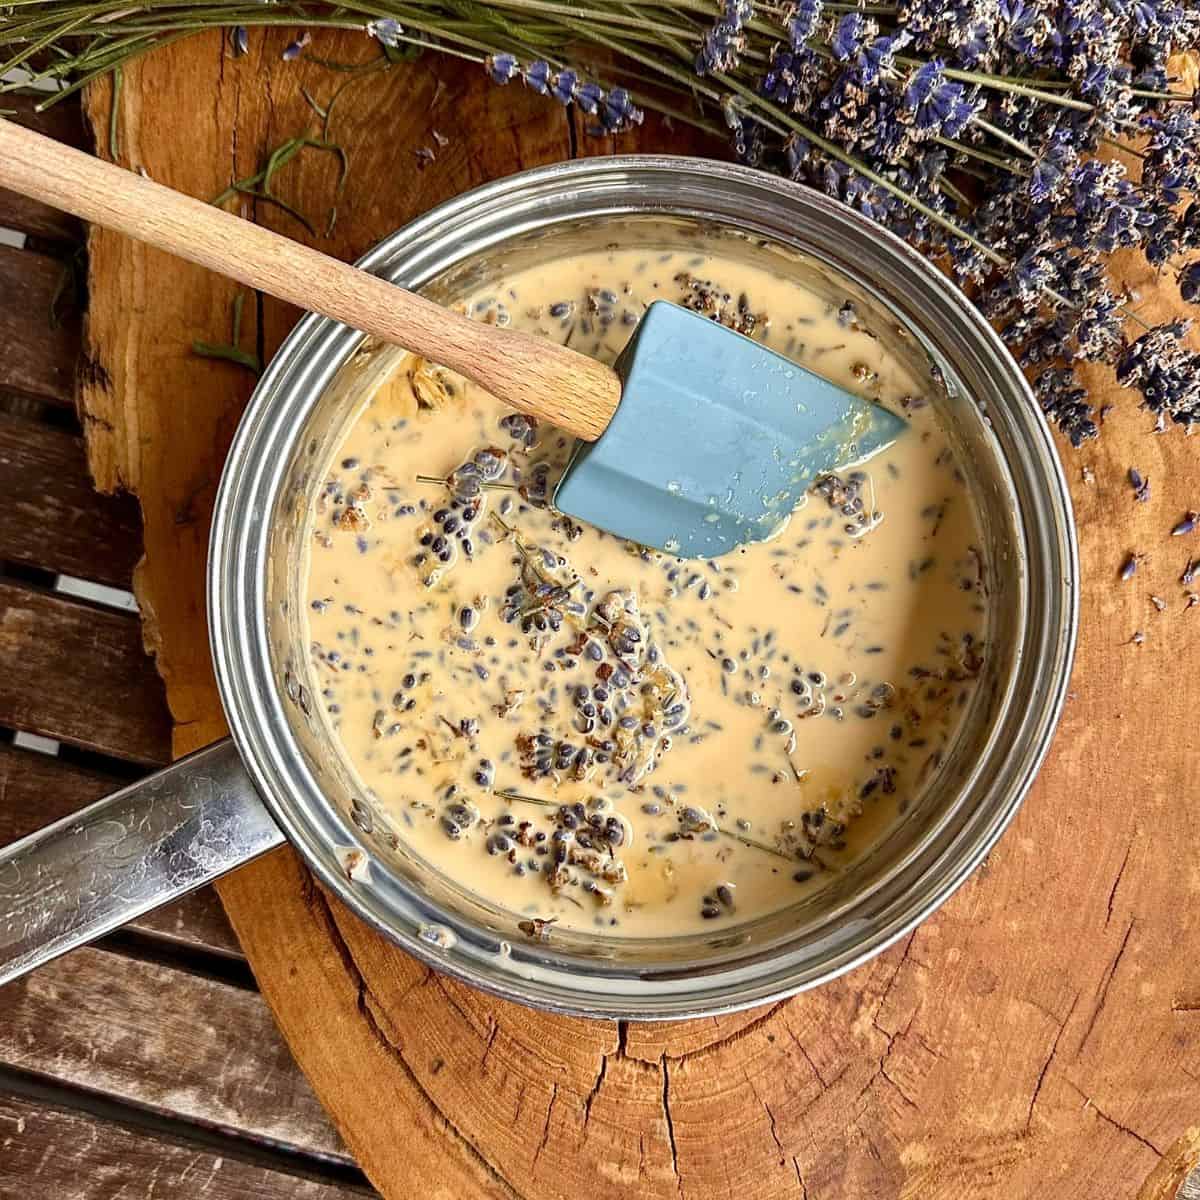
- Pour the evaporated milk into a saucepan and add the lavender flowers.
- Warm up the milk, but do not boil or simmer.
- When you see steam, remove from the heat and set aside to let it cool.
- Once cooled, pass through a sieve and discard the lavender.
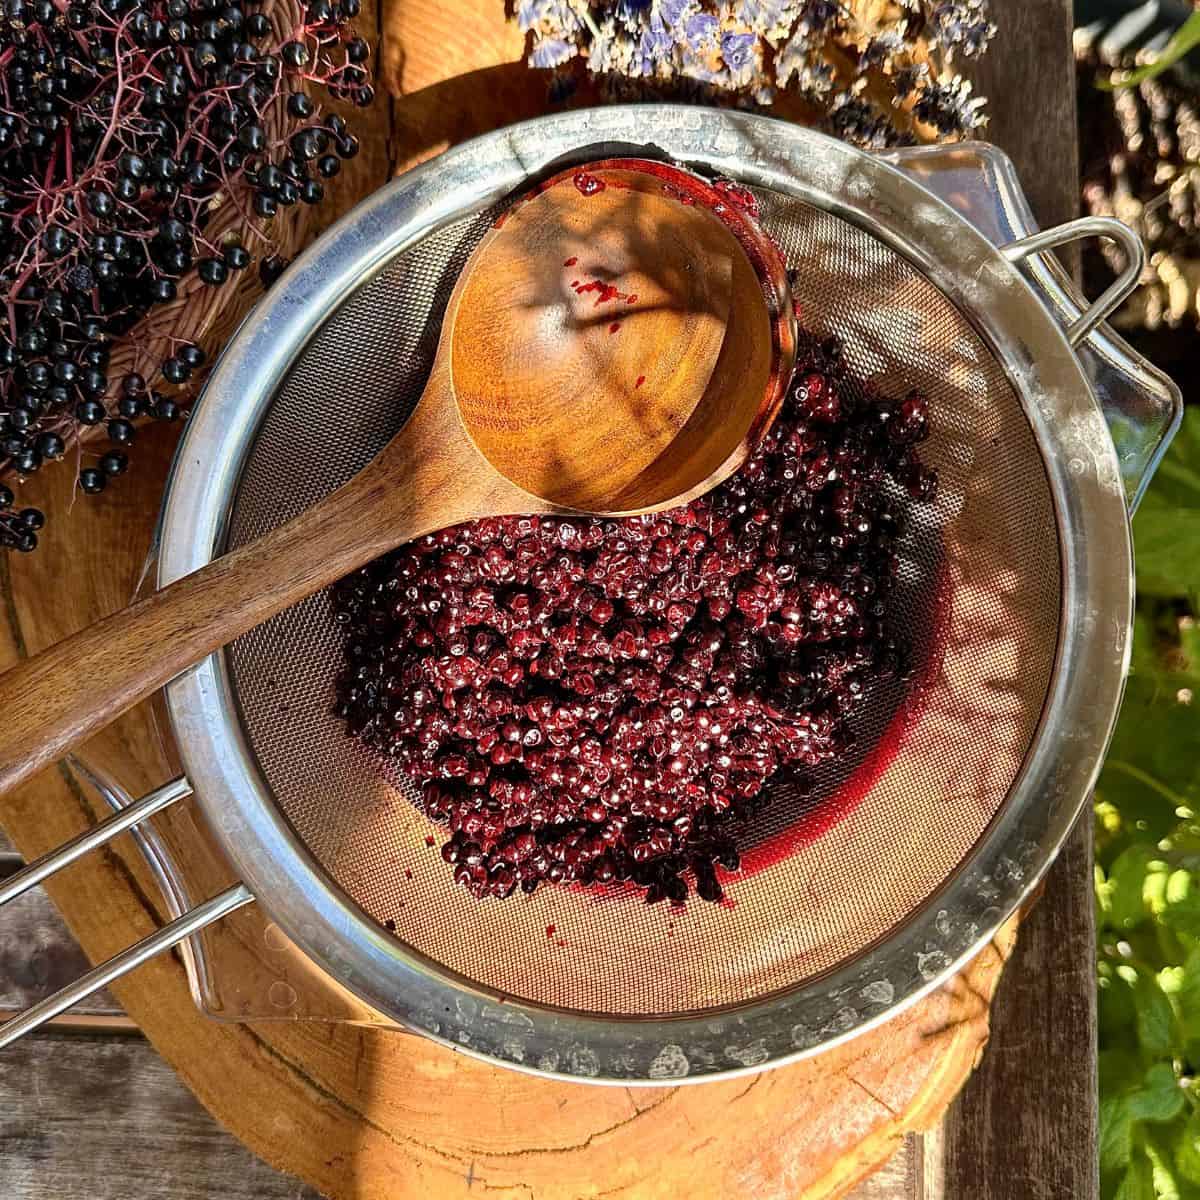
- Pass the berries through a sieve to extract the juice. Press the berries in the sieve with the back of a ladle in order to extract as much juice as possible. Discard the berries.
- Return to the saucepan and simmer the extracted juice for 15 minutes to reduce it.
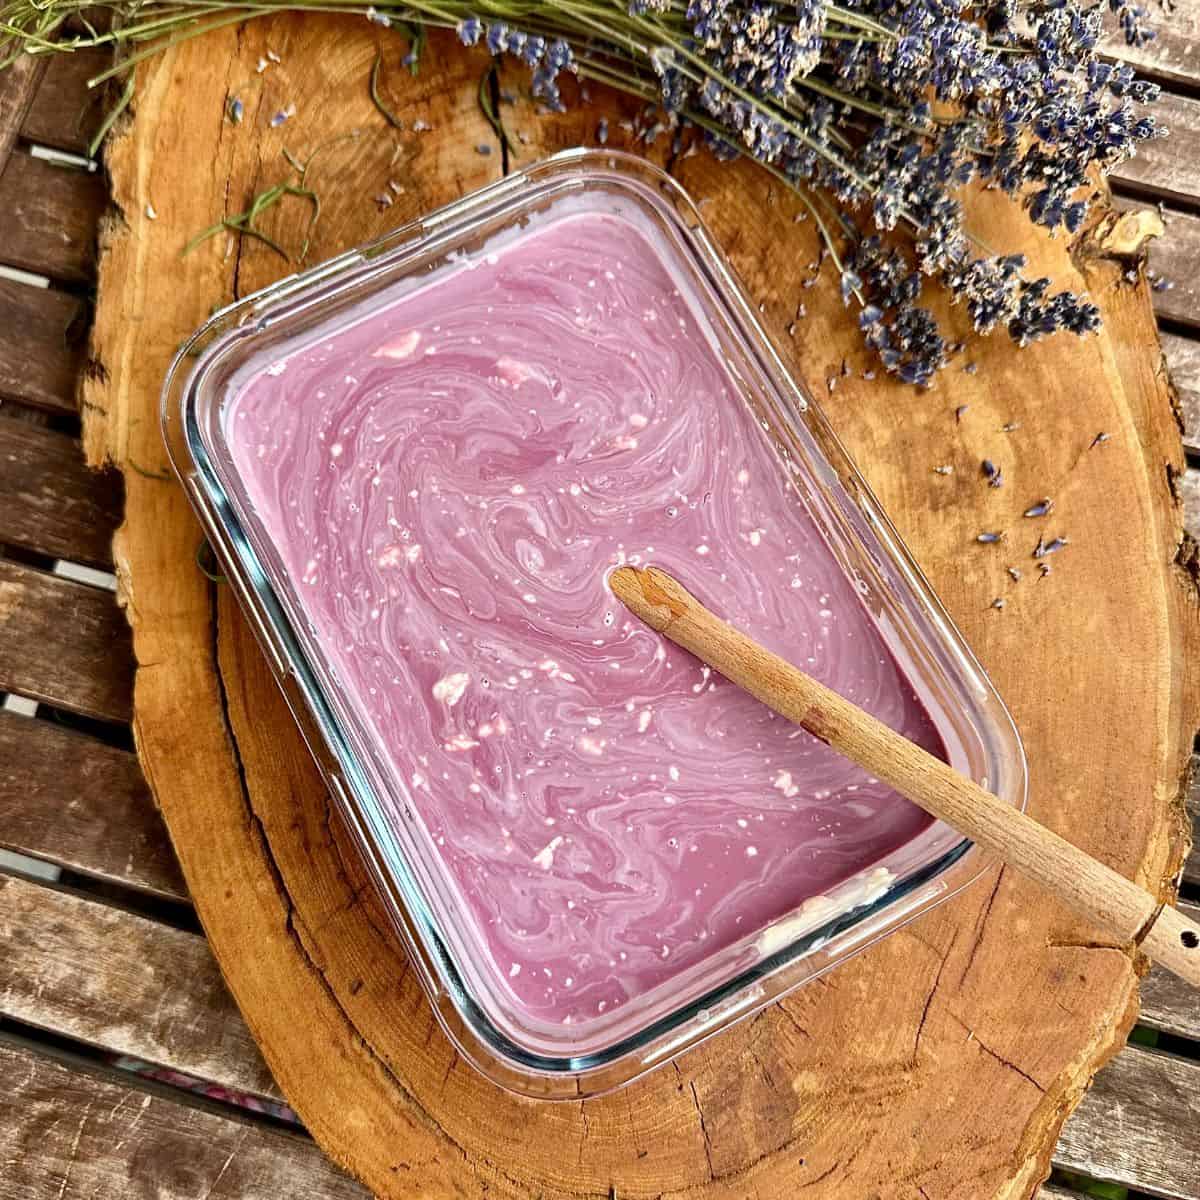
- Pour the infused evaporated milk into a freezer-safe container.
- Add the reduced elderberry juice, double cream and honey.
- Mix thoroughly.
- Check the sweetness before freezing and add more honey if necessary.
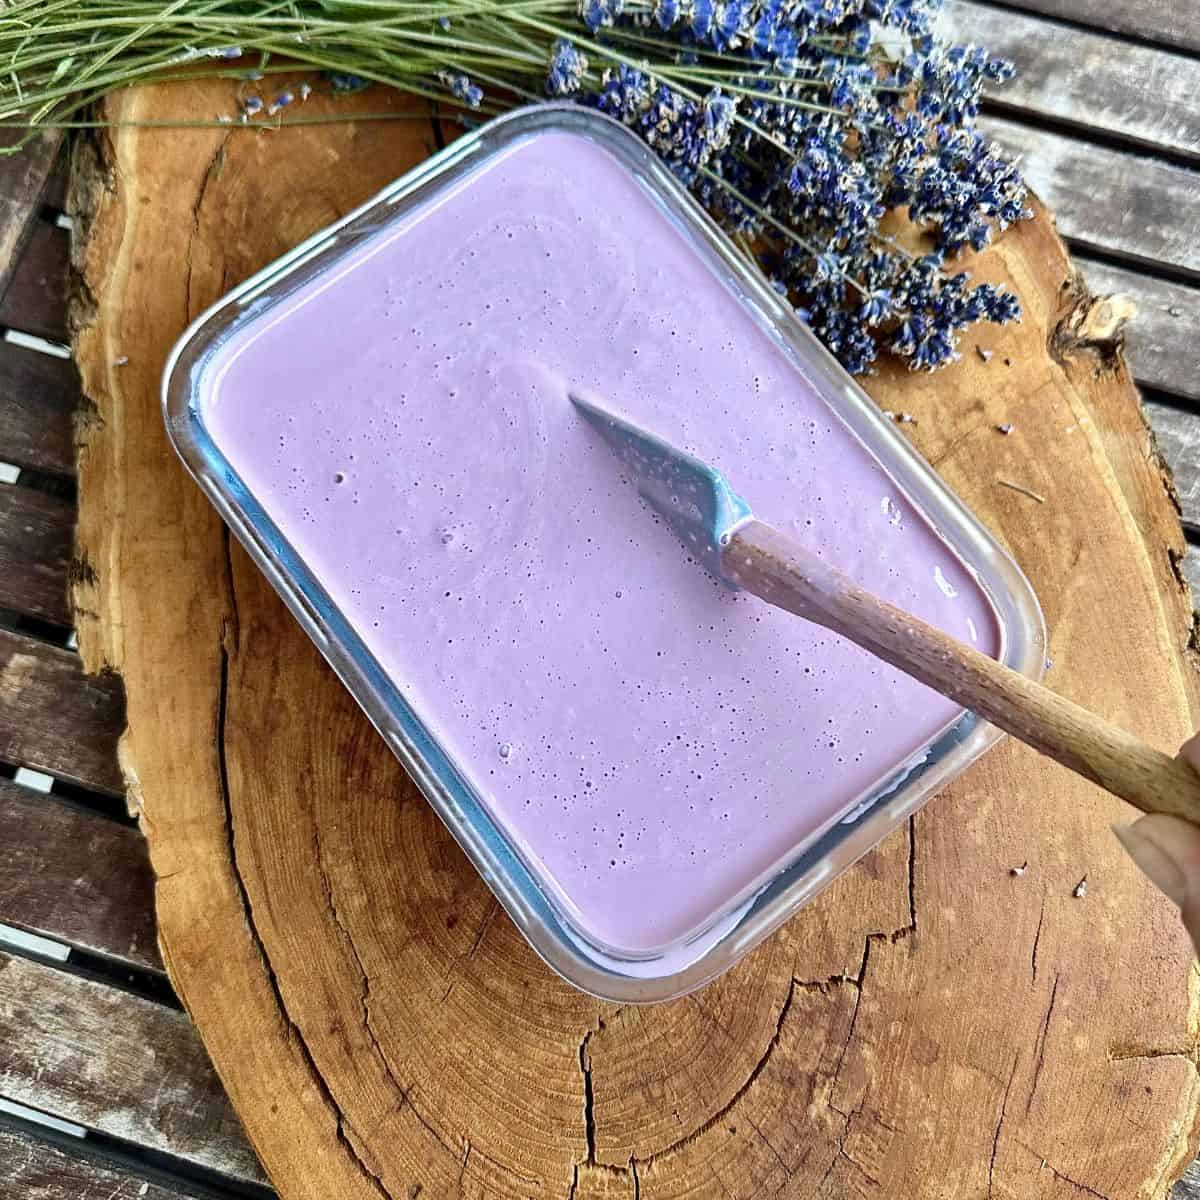
- After 2 hours, gently stir the ice cream and return to the freezer.
- Stir every hour until the ice cream starts to set. Smooth the top with a spatula for even freezing. Leave to set.
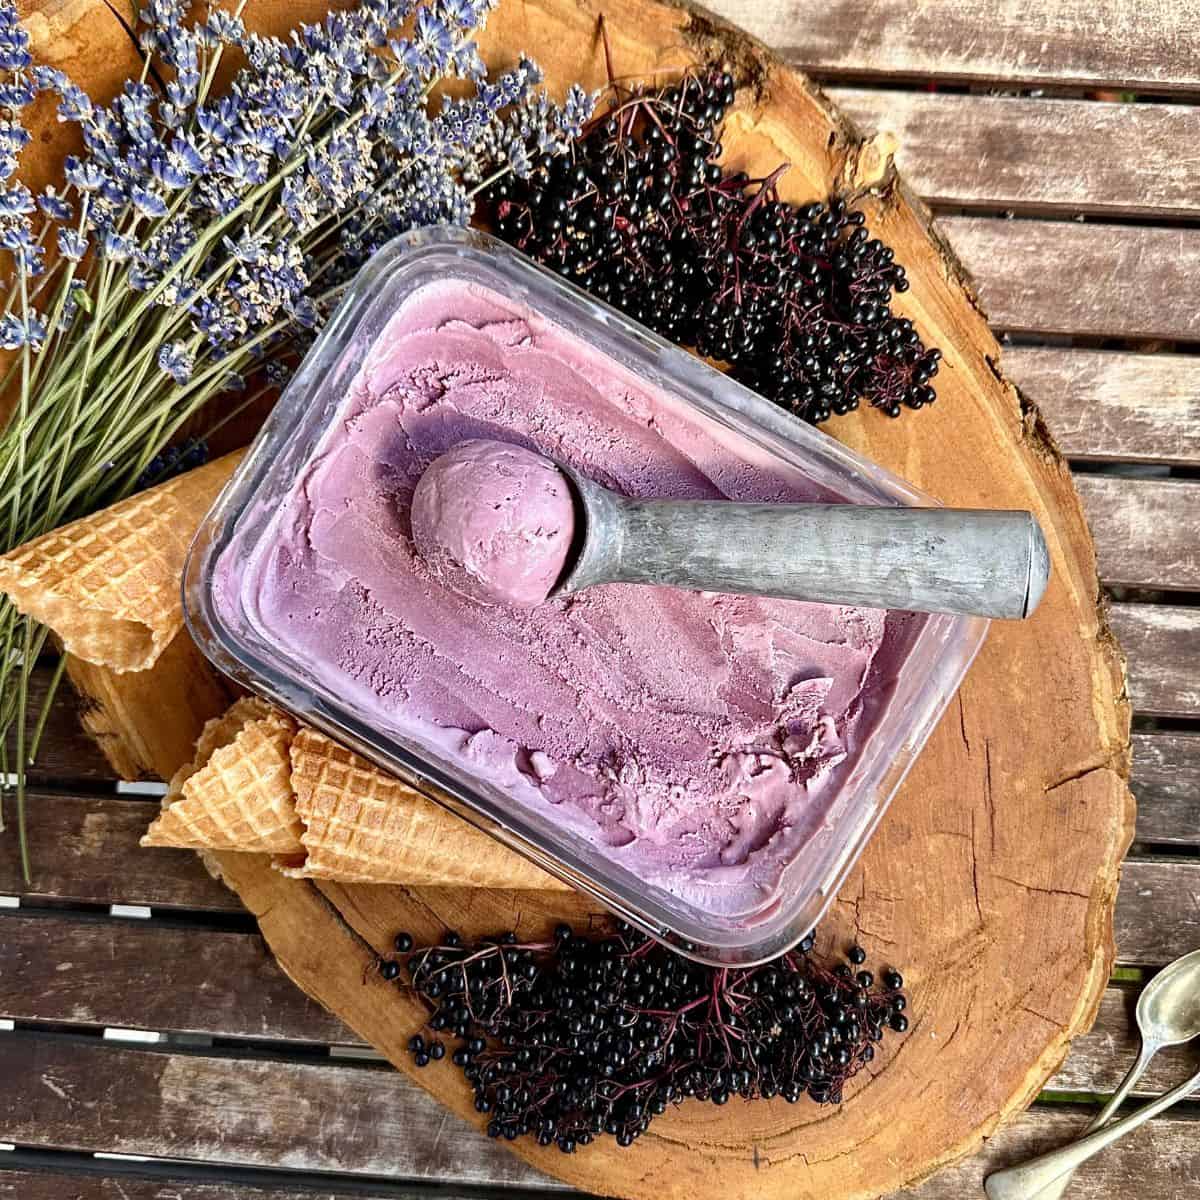
- When completely set, remove from the freezer and set aside for 5-10 minutes before scooping. Serve on its own or with a choice of toppings.
Substitutions and variations
- Instead of elderberry, you can use fresh mulberry or even blackberries.
- If you are unable to forage elderberry, you can use shop-bought elderberry cordial.
- If you want to avoid honey, you can add sweetness with maple syrup or golden syrup, although it will taste different. Keep the quantities roughly the same as given in the recipe, and add more before freezing if desired.
- You can make this ice cream vegan by swapping the evaporated milk and double cream for full-fat coconut milk and coconut cream. This will, of course, add a coconut flavour. I have not tested this recipe with these vegan ingredients, so you will need to experiment with quantities.
- Make an "adults only" version with a splash (a couple of tablespoons) of gin or Elderflower liqueur.
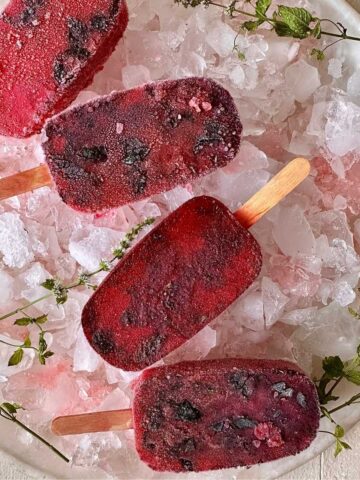
- A nice idea to treat the kids is to pour the ice cream mixture into lolly moulds to produce a creamy lolly!
Equipment
This simple ice cream recipe doesn't require special equipment. You will need:
- A couple of saucepans to cook the elderberries and infuse the lavender in the evaporated milk.
- A ladle to press the elderberries to extract the juice.
- A sieve to strain the elderberry juice through and separate the infused evaporated milk from the lavender buds.
- A freezer-proof container to freeze the ice cream in. I used a 1.5-litre container.
Storage
This ice cream is at its best 2 to 3 weeks after it is made, but can stay in the freezer up to 2 months. The texture will diminish over time due to ice crystal formation because it does not contain stabilisers like shop-bought ice cream or the fine air incorporation of an ice cream machine.
This ice cream will freeze harder than shop-bought ice cream, so let it sit at room temperature for 10 minutes before scooping.
RECIPE TIPS
- Don't let the milk boil. When infusing the lavender, keep the milk warm rather than simmering; otherwise, it will affect the flavour. Stir the milk as it warms to stop it from catching on the bottom of the pot.
- Thoroughly strain the cooked elderberry. Take your time to extract as much juice as possible. Gently press, as we don't want the seeds to go through.
- Taste before freezing. Make sure you are happy with the sweetness before freezing and add more honey if necessary.
- Do not skip the stirring. As this is a no-churn ice cream, stirring as it firms up helps prevent ice crystals and gives a smoother texture at the end.
- Weigh the lavender rather than using the eye. Don't underestimate the impact of the lavender on the flavour. Using too much will make it dominate the flavour. We are looking for a floral note, not a perfume!
- Let it soften before scooping. Remember, this simple method doesn't require an ice cream maker. This means it freezes harder, though, and isn't scoopable straight out of the fridge. Leave it for about 10 minutes, and it will be ready to scoop!
FAQ
Think less "sweet fruit ice cream" and more dreamy, whimsical flavours. You get the tart, wine-like flavour of the elderberry and the floral notes from the lavender. Both in equal measure. Because we use honey, the sweetness is gentle and not the main feature.
This ice cream is not suitable for children under 12 months as it contains honey, which carries a small risk of infant botulism. It is OK for older children; however, it's not as sweet as shop-bought ice cream, so it may not taste the way they expect.
Yes. It will need some planning ahead anyway because of the freezing time. I mentioned in the storage section that it is at its best in the first two weeks. That gives plenty of time for stress-free planning. Remember that this ice cream does not contain stabilisers and is not made in an ice cream maker, so it needs 5 minutes out of the freezer to become scoopable.
Yes. I used dried lavender in this recipe. I had picked it about a month before using it. You do not need to use lots to get the flavour. The amount indicated is just right; otherwise, you risk the lavender flavour dominating. You can use freshly picked lavender, but you may need to use more in that case. Start with the same amount as in the recipe, taste after the infusion, and add more if necessary.
Yes to both - none of the ingredients contain gluten, and no setting agents are present, such as gelatine or similar.
📖 Recipe
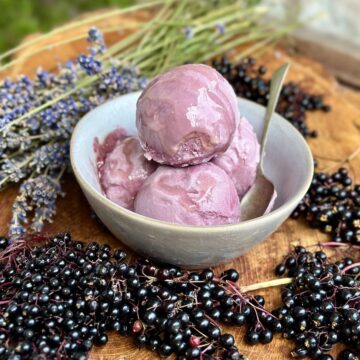
Elderberry & Lavender Ice Cream
Equipment
- Sieve
- 1.5 litre freezer safe container
Ingredients
- 20 heads Elderberry
- 200 ml Water
- 10 g Lavender Approx 35-40 flower heads, stems removed.
- 4 tablespoon Honey
- 410 g Evaporated milk
- 600 ml Double cream
Instructions
- Thoroughly wash elderberries, then use a fork to remove them from the stems. Remove any green or purple ones, as they are not ripe; use only the dark black ones.
- Add berries to a pot with 200 ml of water, cover with a lid and bring to a rapid boil. Once it boils, reduce the heat and simmer, covered, for 15 minutes.
- Decant the evaporated milk into a pot, add lavender flowers and warm up the milk. We don't need to boil or simmer; once the milk is warm and you can see steam, remove it from the heat and let it cool. Once cooled, pass through a sieve and discard the lavender.
- Pass the berries through a sieve and extract all the juice. Transfer back to the pot and simmer for 15 minutes, or until the juice has reduced. Discard the berries.
- In a freezer-safe container, add the lavender-infused evaporated milk, reduced elderberry juice, double cream and honey; mix to combine. Check the sweetness; if it is to your liking, then freeze.
- After two hours, gently stir the ice cream with a spatula or whisk and return it to the freezer. Repeat every hour until it's firmly set.
- Once the ice cream is frozen, transfer it into an airtight container, smooth the top with a spatula for even freezing and return it to the freezer.
- Once the ice cream is completely firm, it's ready for use. Leave it on the countertop before scooping. Serve with a choice of your toppings.
More homemade ice cream a nd frozen dessert ideas
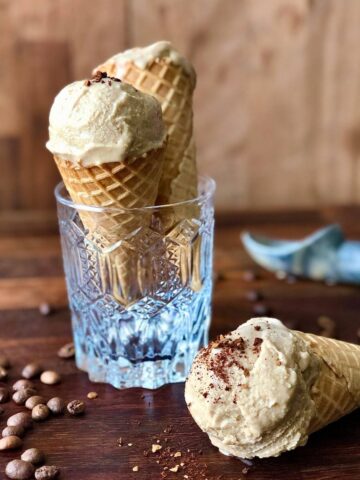
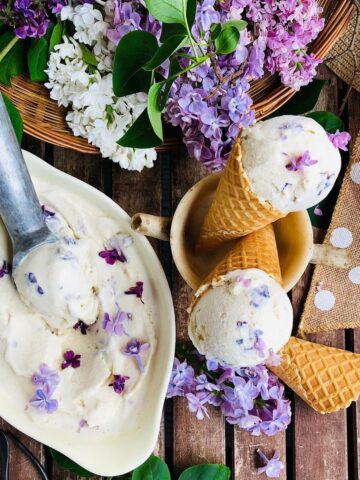
Making your own ice cream or frozen desserts is easy and fun, and you are in control of the flavour. Here are more ideas to inspire you.
FOOD SAFETY
- Wash your hands regularly while preparing, handling and cooking food.
- Wipe down countertops and high-contact points regularly.
- If you cook meat and fish, do not use the same utensils on cooked food that previously touched raw meat. Use separate chopping boards for meat and fish. Wash your chopping boards immediately after use.
- Cook food thoroughly to a minimum internal temperature of 165 °F (74 °C).
- Don't leave food at room temperature for extended periods (more than 2 hours).
- Store food correctly.
Leave a Reply